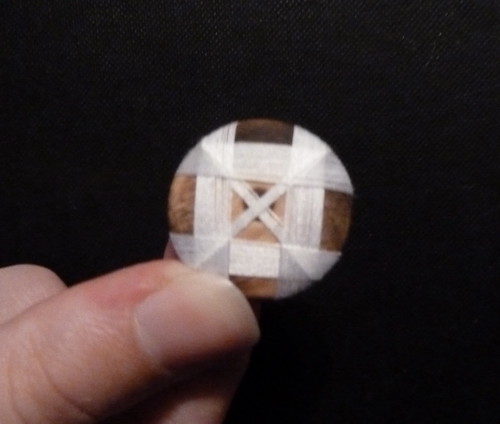
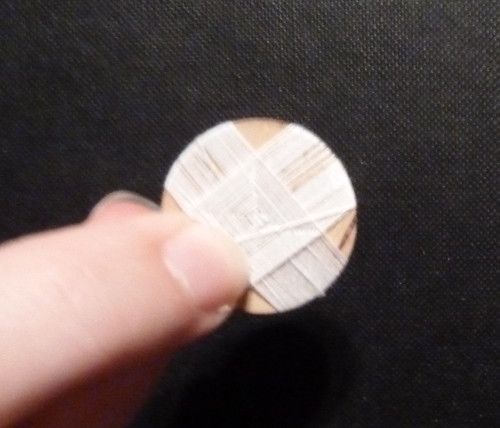
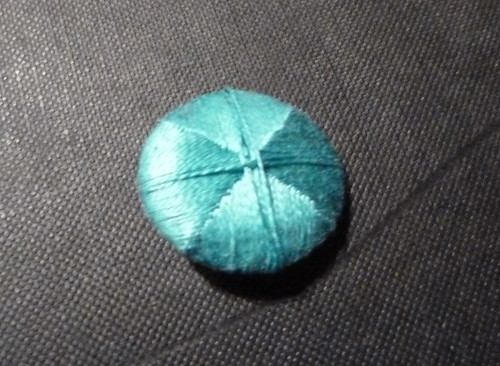
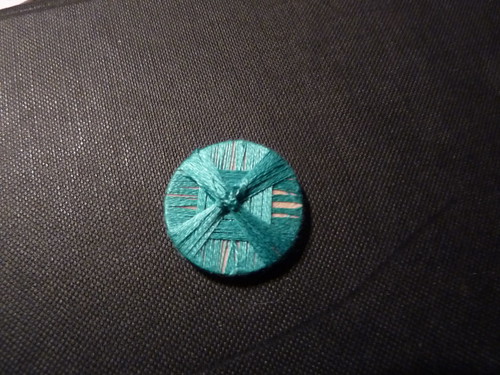
The book provides a nice overview of the history and shows numerous examples both on period clothing or displayed separately. In the back, Mr. Fuss provides step-by-step instructions on constructing the buttons. The process was easy enough for me to follow, so I imagine that most anyone would be able to pick it up; that said, it was also very time consuming and required careful, close attention to details - and lots of patience! - as I went along. Below are some pictures of my first buttons in progress. (This is actually just one button for practice that I covered and then pulled apart and recovered.) Mr. Fuss specifically says not to use embroidery thread. Unfortunately, I have a lot of it sitting around that is not being used, so I figured it couldn't hurt to use it for some practice buttons. I also tried it with silk thread (the white thread in the photos), which was definitely easier to wrap and made a neater look. I’m going to keep practicing, especially since I haven’t chosen fabric for my riding habit yet, and hopefully it will get neater as I go.
I apologize for some of the blurry pictures - my camera had a tough time focusing.

Materials: Domed wood button with center hole, thread, needle, pin, and scissors
The anchoring wraps
Half-way done (front)
Half-way done (back)
Finished! (This was my very first try and my last wraps were too loose.)
Back


Wow! Those are great! Mine are sad, sad, sad. I am really impressed with your buttons!
ReplyDeleteLaurie
THese are lovely - but where oh where did you find the wooden blanks? Can't seem to find them anywhere.
ReplyDeleteThanks - my buttons have definitely improved with more practice. Wooden blanks are sold by a number of vendors, many of whom are online. I recommend Burnley & Trowbridge: http://www.burnleyandtrowbridge.com/woodbuttonmoulds.aspx
ReplyDelete