Sunday, August 18, 2013

18th Century Turnshoe Workshop (Part Two)

Like the previous shoemaking post, this post too was started by Ashley immediately after the workshop in August of 2011 and it too got buried in the "drafts"...until now!  I've dug it up and dusted it off and finished it up, and here, at last, is the story of our shoe-making beginnings!  :-)
- Rebecca


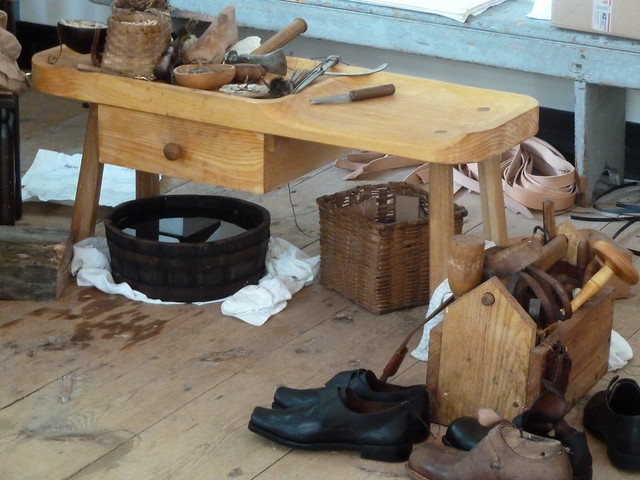
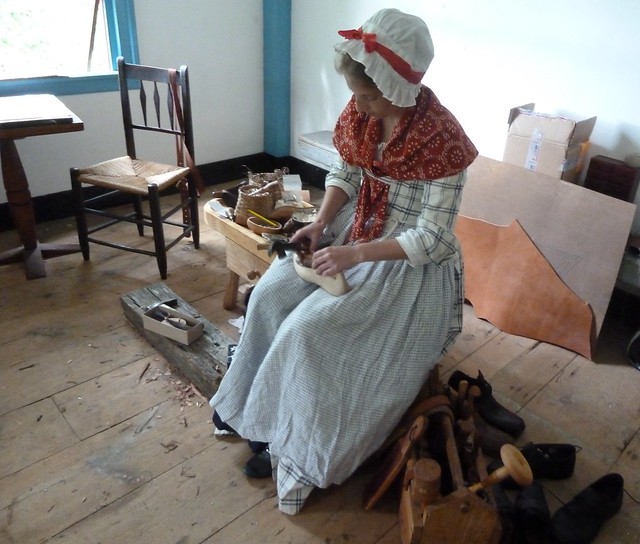
Shoemaker's bench
The shoemaker's bench and tools of the trade.

Our ladies turnshoe workshop at Eastfield Village in NY (see the previous post for a look at the location) was led by one of the shoemakers at Colonial Williamsburg.  There were six of us students who had committed to the entire week-long workshop, though we also enjoyed the company of two other individuals who stopped by the observe and to help out for a couple of days.  The group as a whole was fantastic, and we so enjoyed meeting new friends - including Miss Emily of Emily's Vintage Visions! - and getting to know everyone over the course of the workshop week.

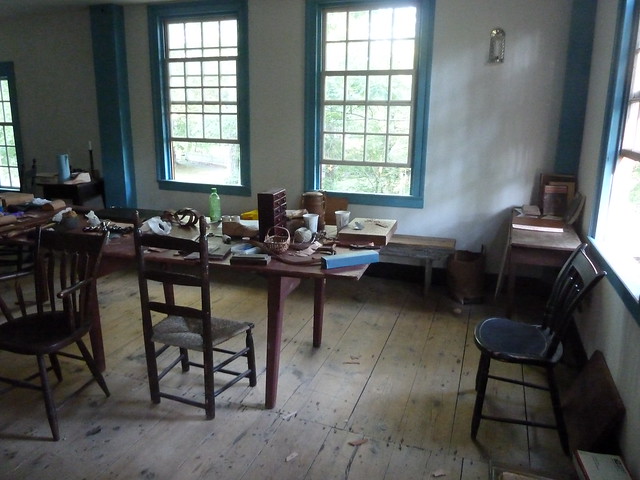
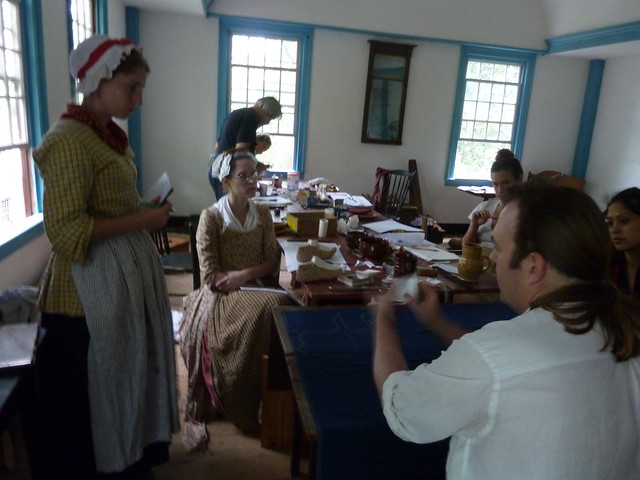
Workspace
Our workshop very early in the week, before it became covered in bits of
wood shavings, leather, and thread!

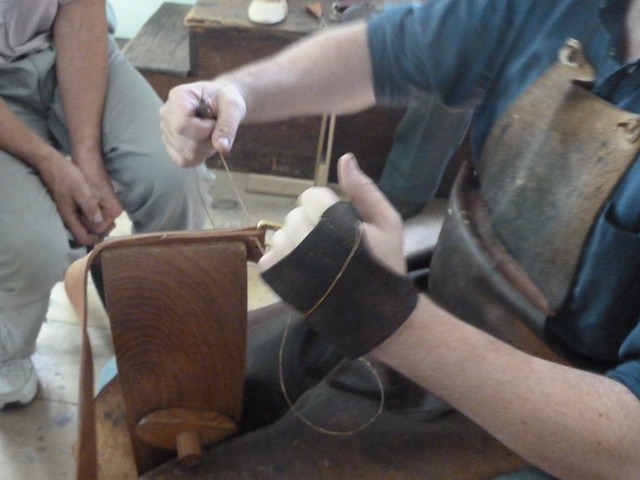
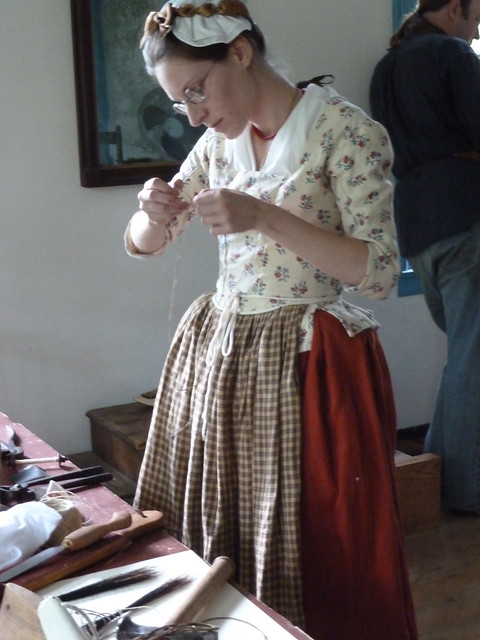
The first day, Saturday, served as a general introduction to working with leather and to preparing and caring for the tools of the shoemaker's trade.  This included learning how to make up threads with boar bristles (the shoemaker's needle!), how to make and use shoemaker's wax, learning how to sharpen and handle different kinds of awls and various knives, learning the names and functions of a handful of other tools, and learning several different stitches commonly found on shoes dating from the 18th century.  We began work on a couple of trial projects, which provided us with the chance to practice working with our new stitches and tools while simultaneously producing two items that would be necessary to the shoe-making process later.  Having never worked with leather before, we both quickly discovered that learning its properties, temperament, and capabilities would prove to be an ongoing lesson in itself!

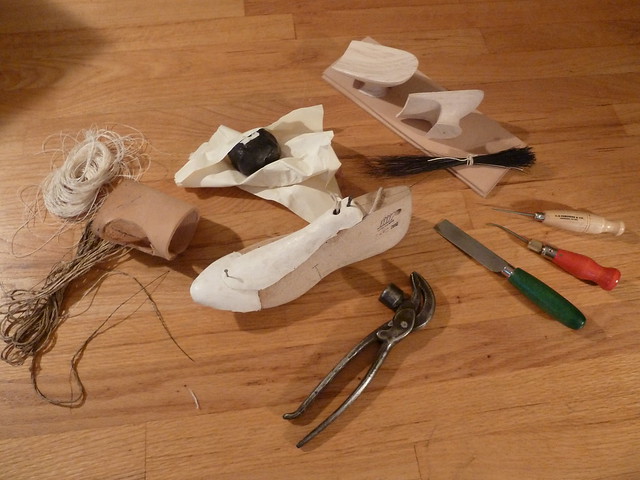
shoemaker's materials and tools
Some of the tools and materials of the shoemaker's trade.

Ashley
Ashley working on sewing her hand-leather, which protects your hands
as you pull stitches tightly together.

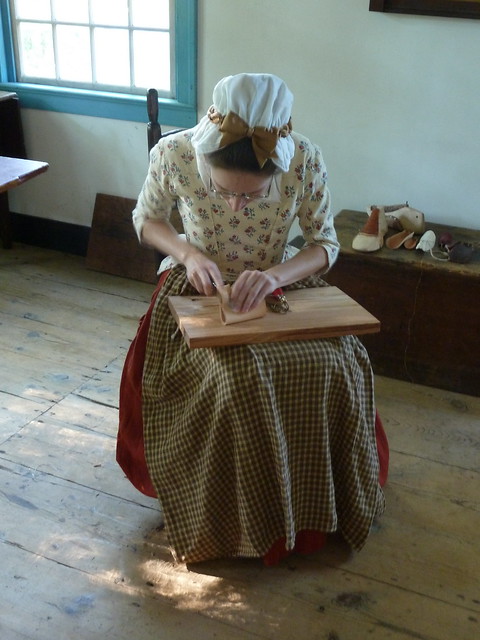
Stitching
Learning the shoemaker's stitch.

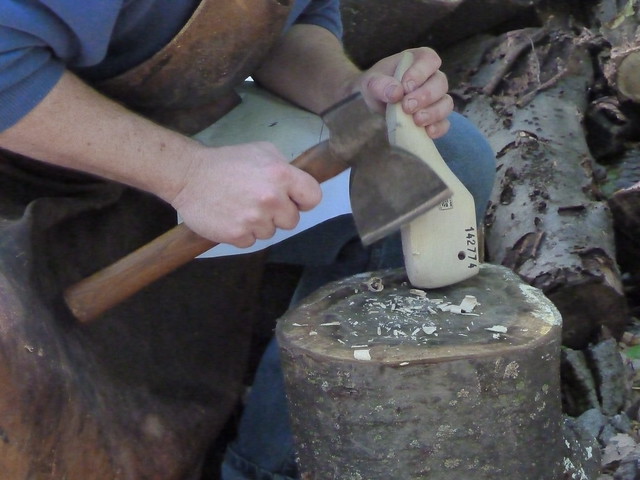
Sunday was an off day, so when we returned on Monday, we devoted some time to finishing up our practice pieces before starting on the next task: measuring.  Our instructor led us through the proper techniques to determine and accurately measure all of the key points of the foot.  Once these measurements were obtained, we then used them to select a last closest to our individual sizes and began the work of whittling and shaving and sanding away the excess wood in all the necessary places so that the last would match our foot measurements exactly.  Because we're making straight-lasted shoes, both shoes can be built from a single last.

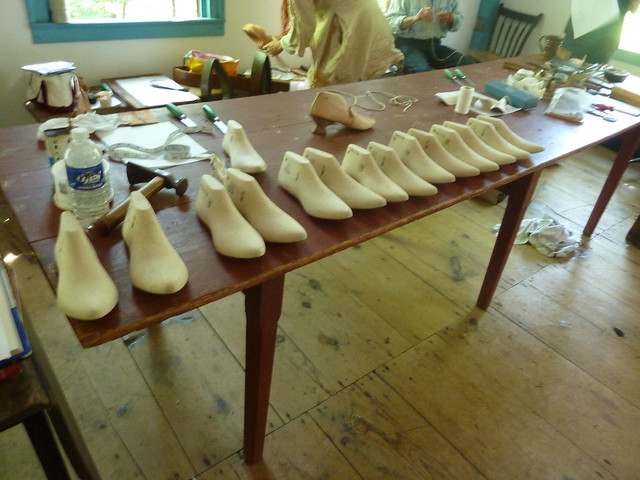
The Last Lineup
A line of lasts!  A selection of standardized sizes were provided, and once we'd
found the one closest to our individual measurements, we then set about
refining it to perfectly replicate the size and contours of our own feet.

Narrowing the heel
Some of us had to remove more stock than others off the last...

In order to achieve the proper shoe shape of a 1770s-1780s shoe, preparing our lasts also involved building on and shaping a toe pin, which extends the length of the last to a fashionable point.  Because of our individual foot lengths and the unique shapes of our feet, some of us (ahem...) had to build larger toe pins than others, which took a significant amount of time and was a definite lesson in patience and perseverance when learning how to wield a knife through leather!

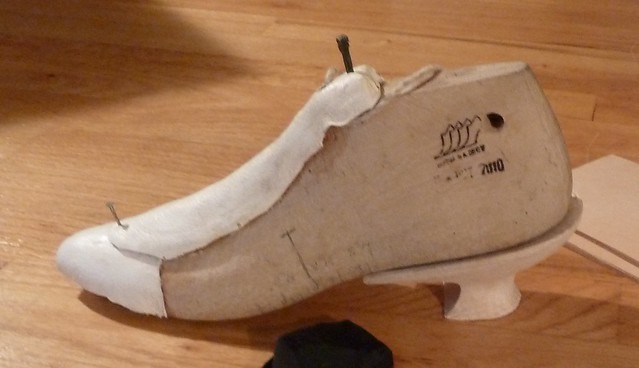
completed last
A completed last with toepin covered in white leather, and the instep nailed to the top.
(The heel is not part of the last, I just rested the last on it for the picture!)

Our next step was to build the instep, which is a leather piece that sits atop the last as the shoe is built over it.  If an instep wasn't used, you wouldn't be able to remove the completed shoe from the last; slipping out that instep once the shoe is finished allows sufficient wiggle room between the last and the shoe to be able to slip if off easily.  Building the instep was another challenge that took a full day and a half, but like the last and its toe pin, it is imperative that it be measured with the utmost preciseness to ensure that the shoe that is built over it fits as snugly and accurately as possible.

At the bench
Miss Emily at the shoemaker's bench, working on her instep.
 
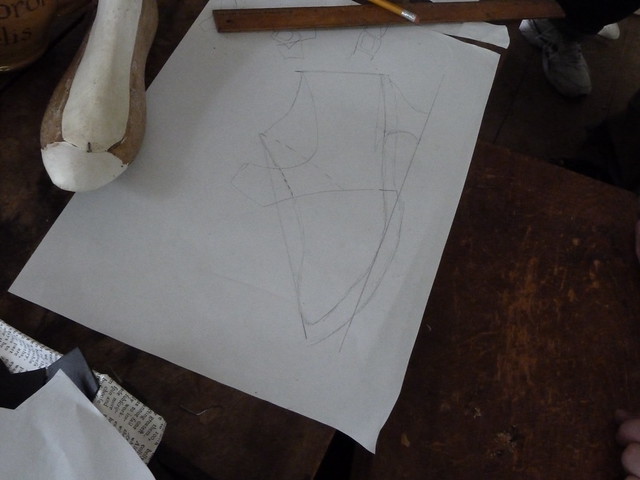
Once our lasts and insteps were perfected into exact replications of our foot measurements, we were taught how to make the pattern for the uppers (the top part) of our shoes and then the art of clicking (i.e. cutting out that pattern) those uppers in both leather and wool.  Black calimanco was provided for our shoes as part of the workshop, and I and two of the other participants chose to use this, but Emily had brought with her a gorgeous blue worsted that she substituted instead (and it's so pretty!)  Ashley purchased some green Moroccan leather (green being her favorite color, of course!).  Our fabric shoes are lined with whittaw, while Ashley's leather ones are lined with linen.  The edges are bound with black silk grosgrain.

Making a pattern
Learning how to create a custom pattern for our individualized lasts.

Listening...
Emily and Ashley listening and note-taking.

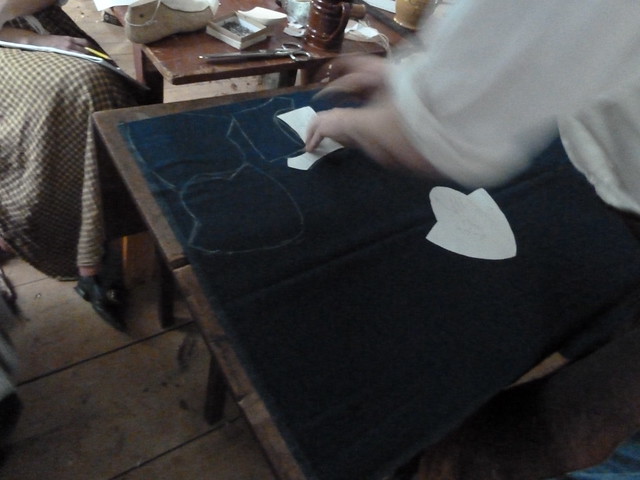
Clicking the uppers
A truly 18th-century lesson in clicking with economy!

By Friday, we were all hard at work sewing together our uppers.  A couple of the participants finished and began learning how to prepared their soles that afternoon, but both Ashley and I still had work to do on them and didn't get a chance to begin our soles before we had to leave in a desperate attempt to beat the coming hurricane home (which we thankfully did!).

shoemaking workshop, Eastfield Village, August 2011
Ashley mastering the art of making up a thread.

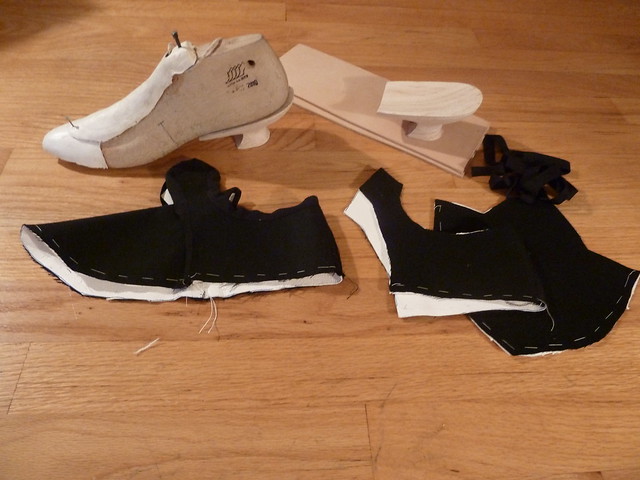
After a week of hard and diligent work, we had made significant headway into beginning the process of making our very own custom - and 100% accurate! - 18th century shoes!  The picture below shows the state of my shoes after the workshop, with the completed last and instep.  One of the uppers was nearly finished, while the other was still in two pieces, waiting to be bound and seamed together.  Ashley's uppers at the conclusion of the workshop week were basically in the same shape as mine. 

shoes after the workshop
Rebecca's uppers at the end of the workshop week: one is nearly finished,
while the other is still in pieces.

Over the past couple of years, we've all been desperately attempting to fit all of our busy schedules together to meet up for a follow-up workshop.  Several of the participants were able to do this last October, but both Ashley and I unfortunately had work commitments and weren't able to go.  It wasn't until a couple of weeks ago that three of us were finally able to gather together again and, under the tutelage of our instructor, get back to work on our shoes.  Stay tuned to see the recent (and exciting!) progress!

If you're interested in learning more about the art of shoemaking in the 18th century, check out Art of the Shoemaker, D.A Saguto's superior translated edition of Garsault's 1767 "Art du cordonnier."  Nicole of Diary of a Mantua Maker has also done some fabulously informative posts about shoemaking in general and her own personal shoemaking experiences, which can be found here.  And Emily has started doing a bit of research into female shoemakers in 18th-century New England; see this post for a most fascinating account of one from Boston.

A plate from Garsault's 1767 "Art du cordonnier," showing shoemakers
at work, along with a sample of stitches and the parts of the shoe below.
 
Additional photos of the workshop week at Eastfield can be found on this flickr set.  Additionally, for more, check out Emily's posts about the workshop and her shoes on her blog.  And stay tuned for subsequent posts here of updates on how our shoes continue to progress!

Mending threads
Ashley preparing and refining a thread.

Monday, August 12, 2013

Threaded Bliss

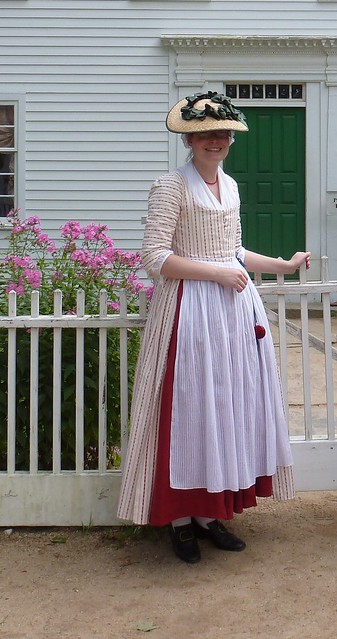
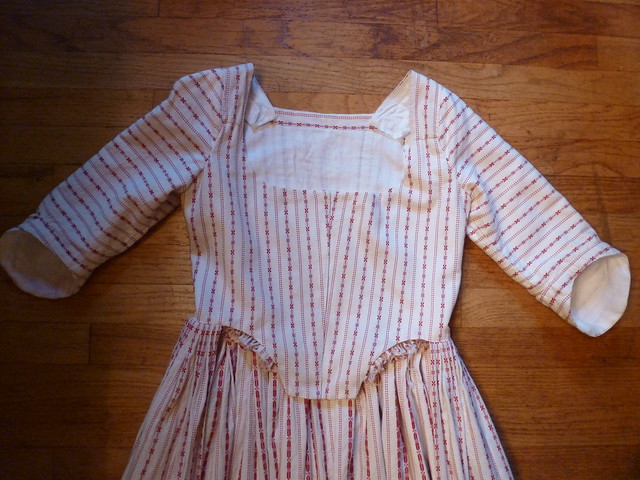
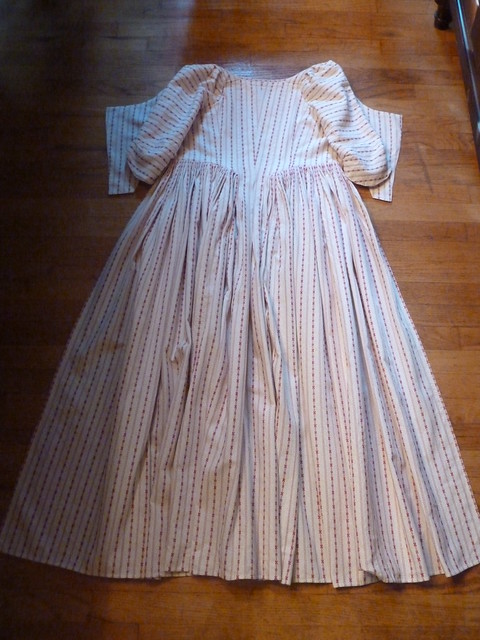
Red Striped Cotton Gown, 1775-1785

red striped cotton gown, 1775-1785
Redcoats and Rebels, OSV, August 2013.

This fabric has been sitting in the stash for years now.  When I decided 8 days before Redcoats and Rebels that I needed (i.e. wanted) a new gown, I dug around in the fabric cabinet and unearthed three options.  Thanks to input from our Fashionable Frolick Facebook friends, this is the one I ended up with, and I'm so pleased with the outcome!

red striped cotton gown, 1775-1785
With our friend B at OSV.
Redcoats and Rebels, OSV, August 2013.

The pattern: The bodice and sleeves of this gown are those draped on me by Ashley at the gown workshop last November.  I made a minor alteration to the neckline, however, to square it out ever so slightly to reflect the wider necklines seen in the late 1770s and early 1780s to make it a most fashionable gown for the Rev War period.
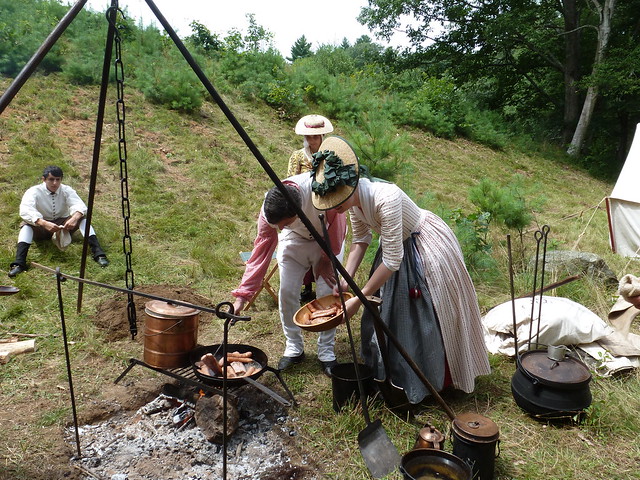
Redcoats and Rebels 2013 at Old Sturbridge Village
Redcoats and Rebels, OSV, August 2013.
Construction details: As these are identical to the pink worsted gown (and every other fitted-back English gown we've done!), I'll just refer you to those previous gown posts if you're interested in reading the in-depth summary!

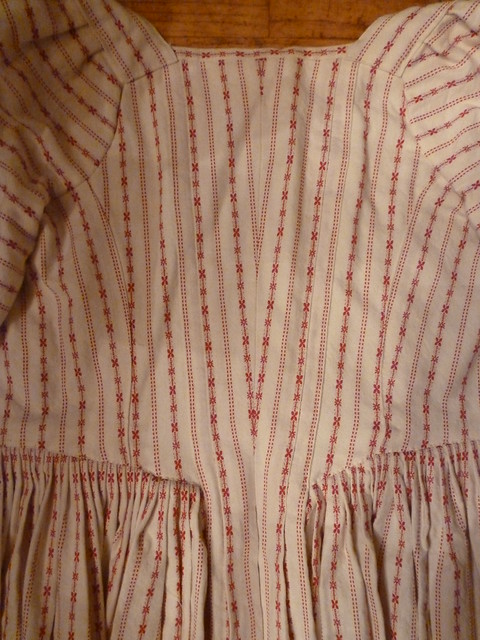
It's been a while since I've worked with stripes (the last striped gown was the blue and white linen two years ago), so this particular fabric presented a nice "refresher course" in fabric fiddling!  The first challenge was deciding the angle of the front chevrons.  Extant striped gowns and those appearing in period images display a range of angles; in some examples it is quite severe, while in others, it is so subtle that the stripes create chevrons only at the very top when the bodice widens around bust level.  After playing around a bit with the angle, I ended up with a modest chevron, a happy medium that seems to reflect the trend of many of the c.1780ish striped gowns I've encountered in my searches.

red striped cotton gown, 1775-1785
Front of the gown.

The next step was to determine the angle of the back chevrons.  This was partially determined already by the front (I'd look silly with severe "V"s at the back, and only subtle ones in the front!), but I angled it ever so slightly a bit more, to give it that necessary waist-defining and narrowing effect so valued by 18th century mantua-makers and their clients!

red striped cotton gown, 1775-1785
Back of the gown.

red striped cotton gown, 1775-1785

The outcome of where the front bodice pieces meet the back panel is thus already pre-determined, and based on extant striped gowns, seems not to have been of much concern to mantua-makers of the period.  Aiming for perfect chevrons at the sides, in other words, shouldn't be a goal because the front and back logically are the priorities.  I just fiddled ever so slightly with the side/back edge of my bodice piece, creating the usual pleasing curve and letting the stripes fall where they will.  In the end, it worked out looking quite nice, with the floral stripes sitting next to each other right at the waist and then splaying out a bit as it progresses upwards.

red striped cotton gown, 1775-1785
Back of the gown, with stripes diverging at the side/back lapped seams.

red striped cotton gown, 1775-1785
Shoulder strap meeting back panel and sleeve.

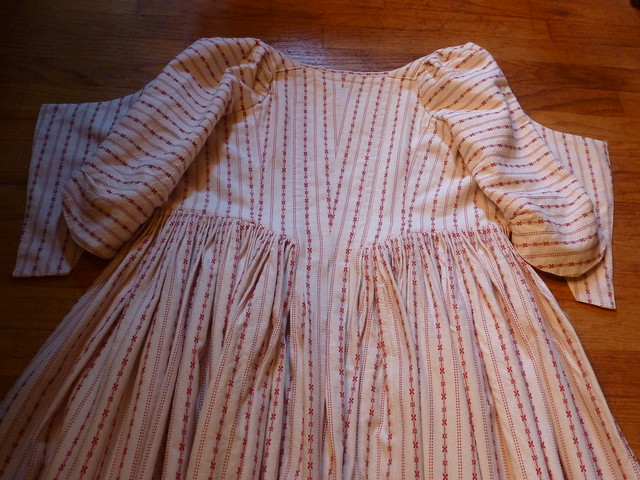
Pleating gown skirts is such a pleasure with stripes!  Using the floral stripes as my guide, I did tiny 1/4" pleats all the way around.  In general (yes, a sweeping generalization, but one nonetheless!), the later you go into the 1770s and 1780s, the smaller the skirt pleats progressively become, so these reflect the very specific period towards which I was aiming with the squared neckline as well.

red striped cotton gown, 1775-1785
Lots and lots and lots of pleats!

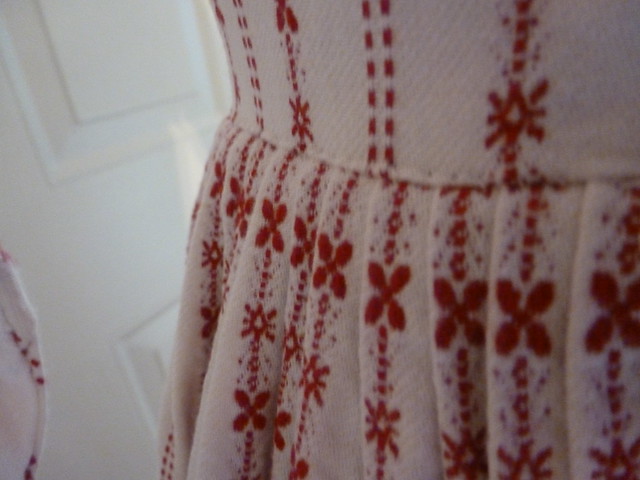
The fabric: A white medium-weight cotton embroidered in a pattern of red stripes with a tiny floral motif, with the bodice and sleeves lined in ivory linen.  I absolutely adore this striped fabric and really wish I'd purchased more when I bought it years ago.  As it is, I started out with a one-yard piece and a three-yard piece, and I ended up with just three little scrap bits left.  I'd love to have a matching petticoat, so the hunt is now on to find more if I can!

Redcoats and Rebels 2013 at Old Sturbridge Village
With our friend B at OSV.
Redcoats and Rebels, OSV, August 2013.

Finishing the look: This gown is certainly more posh than anything a camp-following lady should be wearing, but because we were surrounded by a non-military town setting and not the usual lone battlefield, I figured I was perfectly justified in wearing it to Redcoats and Rebels!  Although I have a scarlet red cotton petticoat of a similar weight to the gown that was intended to go with it, I opted for the more "common" appearance of the subdued red linen petticoat seen in the previous jacket post, both because it would be around fire and soot, and because it saved me having to remember to bring two petticoats with me!  Somehow, despite the very different shades of red of each of those petticoats, they both matched the fabric just fine; the gown's red seems, chameleon-like, to take on whatever shade of red against which it is placed!

Redcoats and Rebels 2013 at Old Sturbridge Village

Redcoats and Rebels 2013 at Old Sturbridge Village
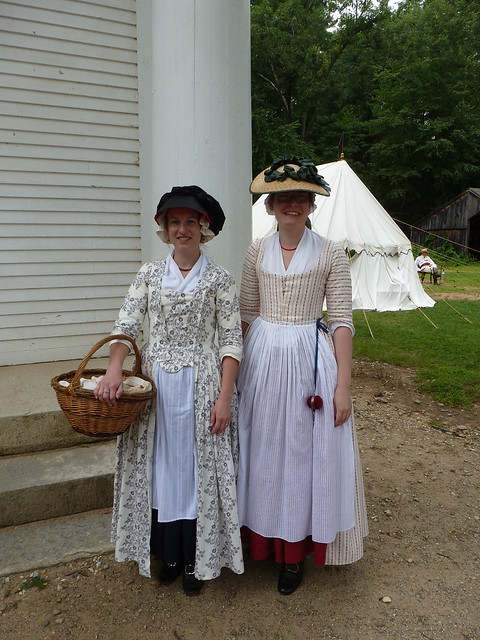
With Miss Emily, both of us in fashionable cotton gowns with neat, white aprons!
Redcoats and Rebels, OSV, August 2013.

Walking about town, a sheer striped cotton gauze apron gave the ensemble a nice, clean, and tidy appearance that was further accented by the semi-sheer neck handkerchief that filled in the low, square neckline.  A necklace of red coral beads and my new favorite hat completed the outfit and brought it quite nicely into a middle-class impression.

Redcoats and Rebels 2013 at Old Sturbridge Village
Redcoats and Rebels, OSV, August 2013.

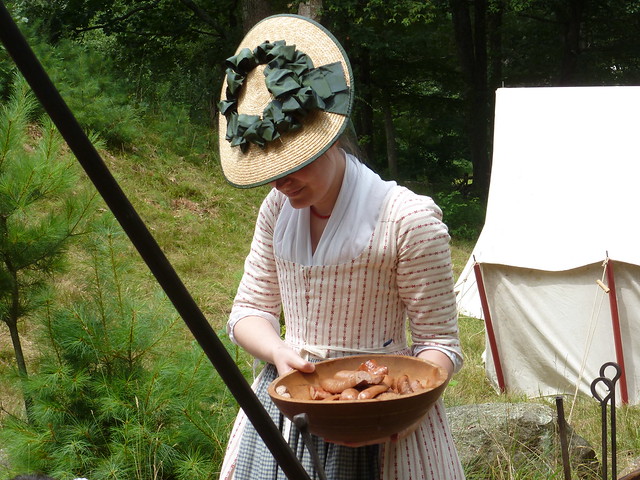
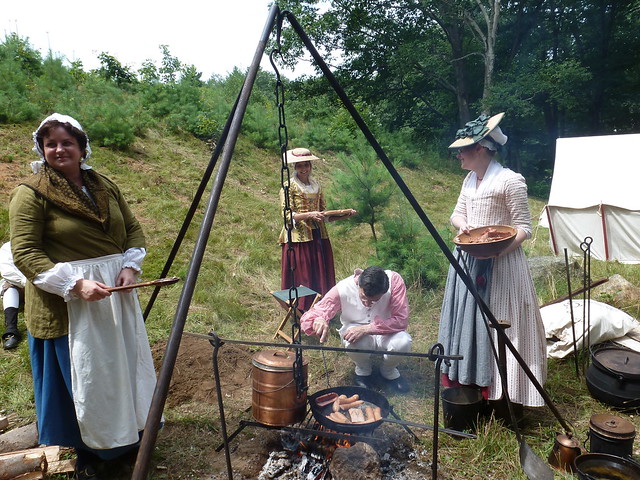
Back in camp, however, I quickly covered that fashionable, delicate white apron by tying a dark blue/ivory/yellow cross-barred linen apron over it to protect it from food preparations, fire, grease, and soot.  It also helped tone the outfit down a bit to make it appear more camp-appropriate.

Redcoats and Rebels 2013 at Old Sturbridge Village
Fashionable white gauze apron covered by the utilitarian dark linen one!
You can see the white one peeking out one side.
Redcoats and Rebels, OSV, August 2013.

Additional photos can be found in this project's flickr set.  Clicking on the images here will bring you to flickr and larger picture sizes.

Saturday, August 10, 2013

Scenes from Sturbridge: A Glimpse into 1830s New England Life

In between camp duties and Rev War programming during Redcoats and Rebels weekend, I was able to snatch a bit of time to visit a good portion of the buildings that make up Old Sturbridge Village.  For those of you unfamiliar with the site, OSV, located in Sturbridge, MA, is one of the largest living history museums in the country.  It began as the vision of a single local family with a passion for history and collecting antiques; as their collection grew larger, so did the germ of the idea to construct a site worthy of displaying and sharing their valuable antiques with the public.

Slowly, building by building, the family began to collect 18th- and early 19th-century structures to both house their collection and to serve as demonstration platforms to preserve and teach early industrial New England trades and crafts.  Most of the buildings that make up OSV are thus not original to the site, but have been carefully moved there and restored to help bring to life the small village feeling so representative of rural New England during the first four decades of the 19th century.  The village contains a meetinghouse, several general stores, a gristmill and sawmill, numerous trade sites, a working farm, gardens, and a number of private homes of all sizes.  Costumed interpreters share stories of early American life while performing the work (and play!) of the village's 1830s citizens.

If you're interested in reading more about OSV's long and fascinating history, they have an excellent essay on it on their website here.

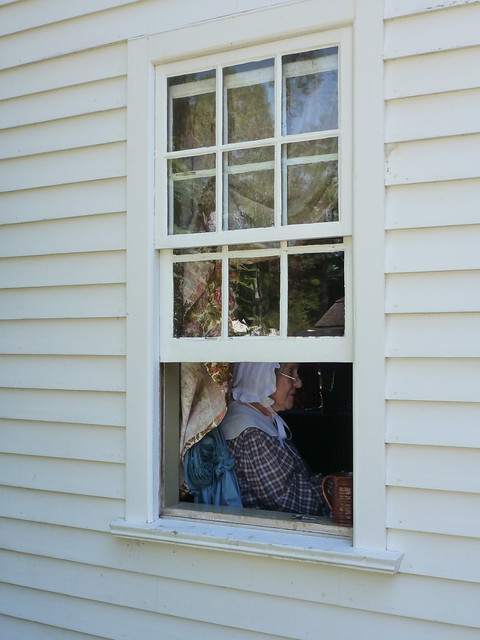
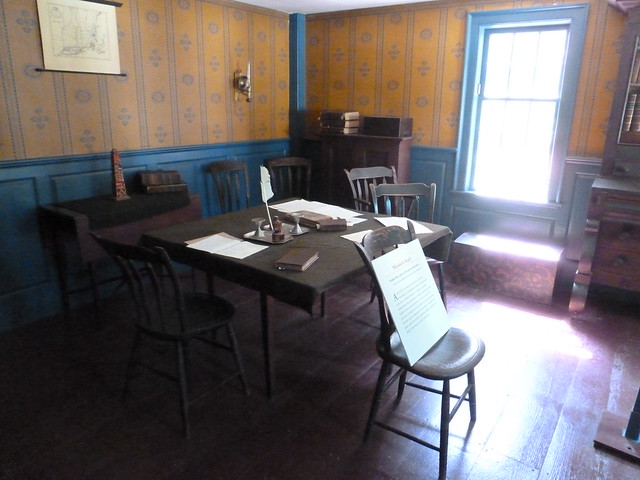
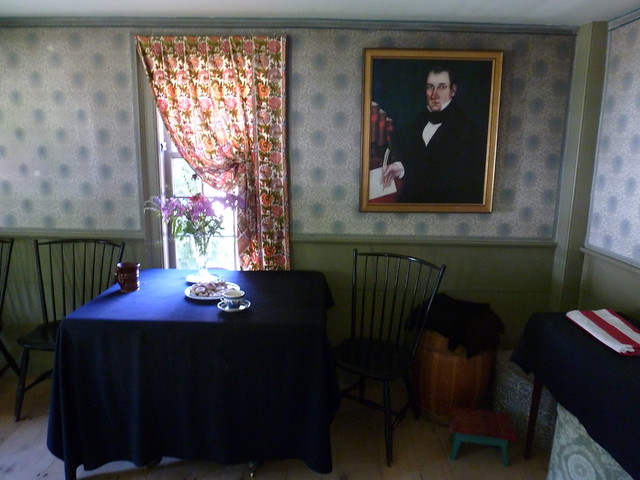
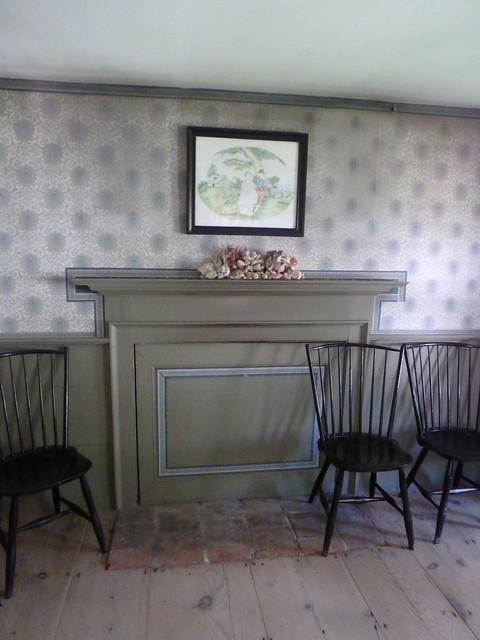
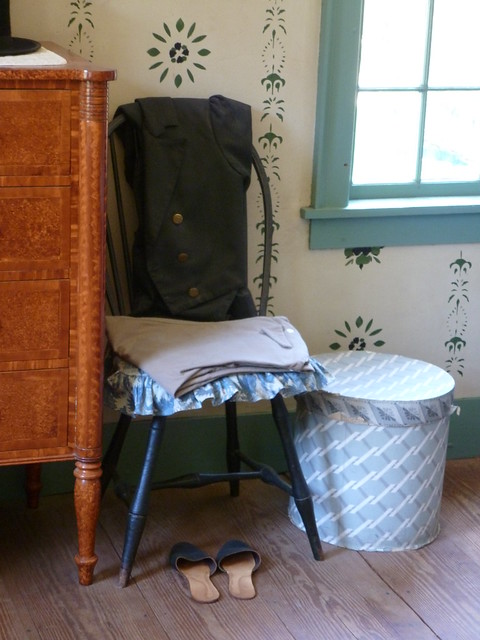
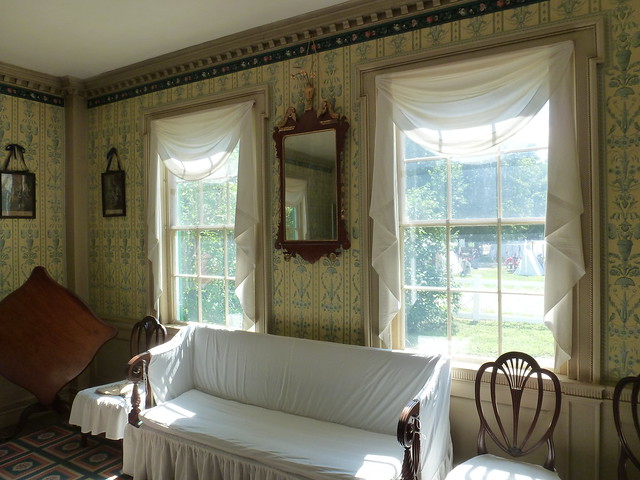
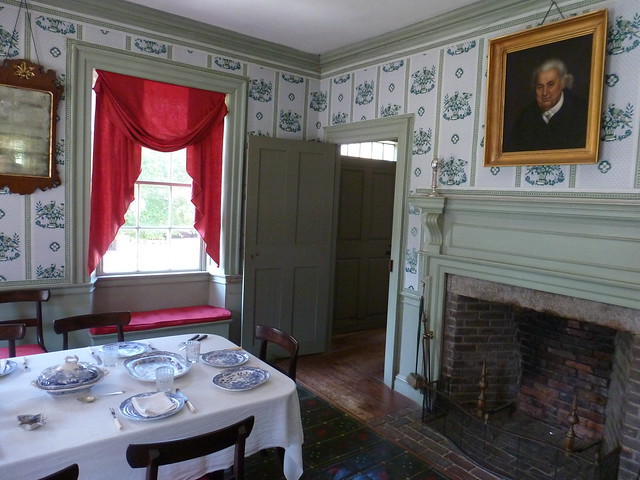
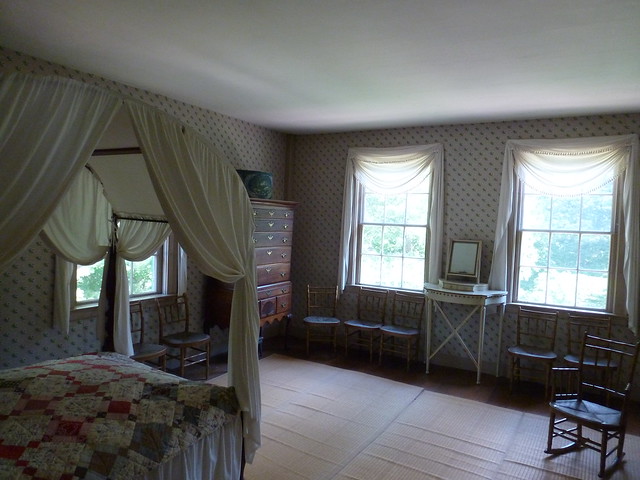
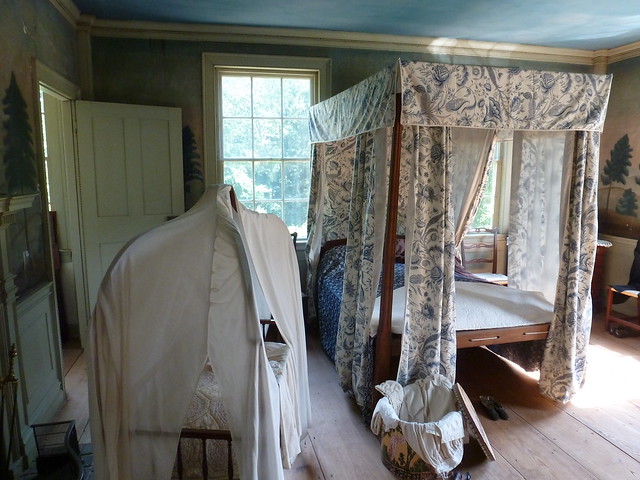
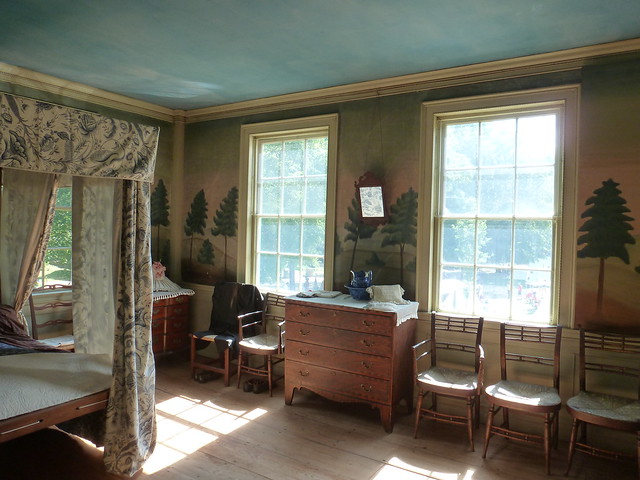
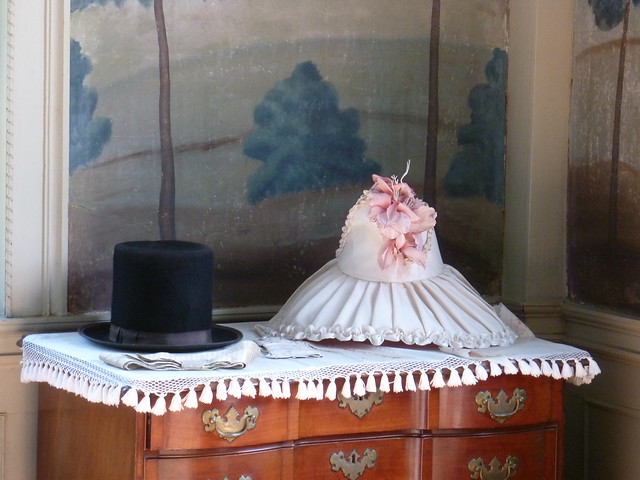
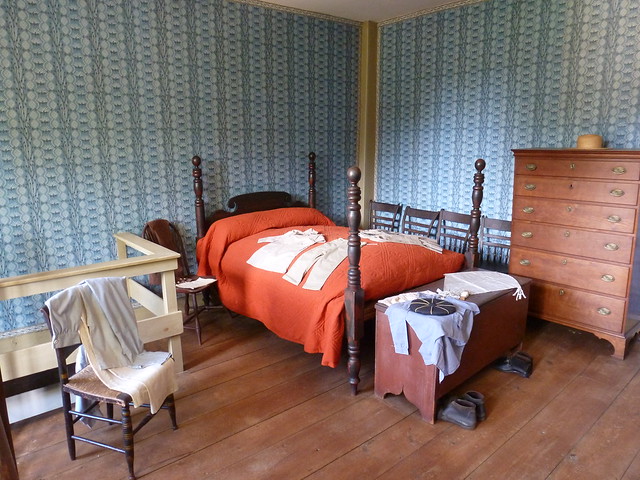
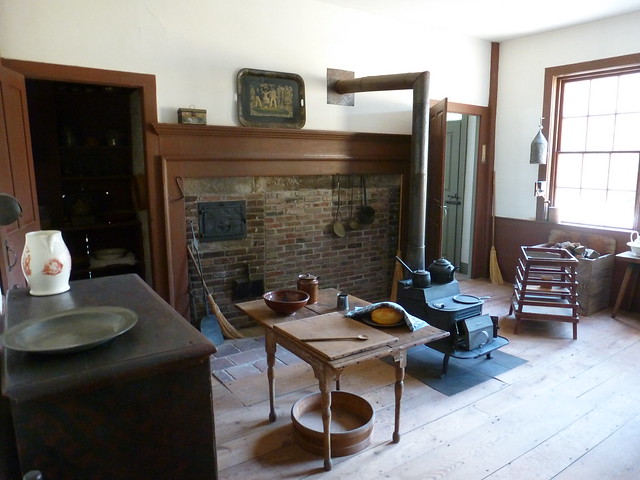
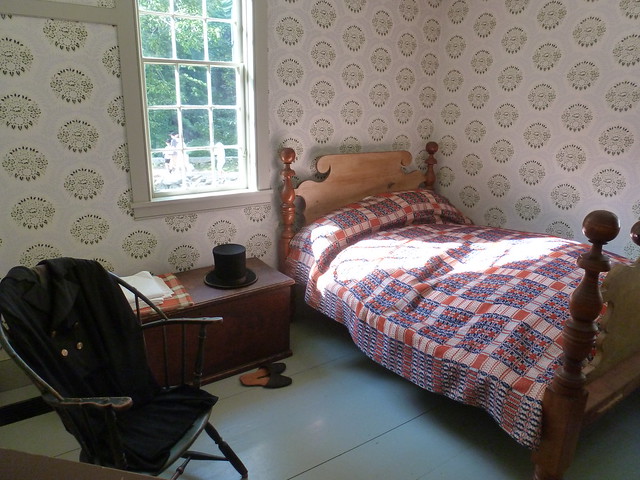
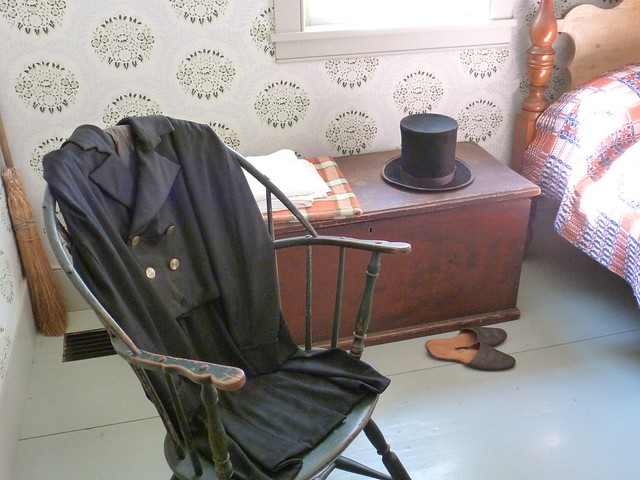
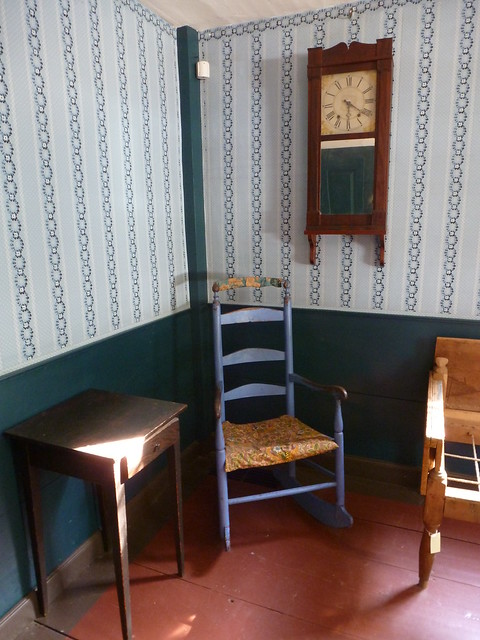
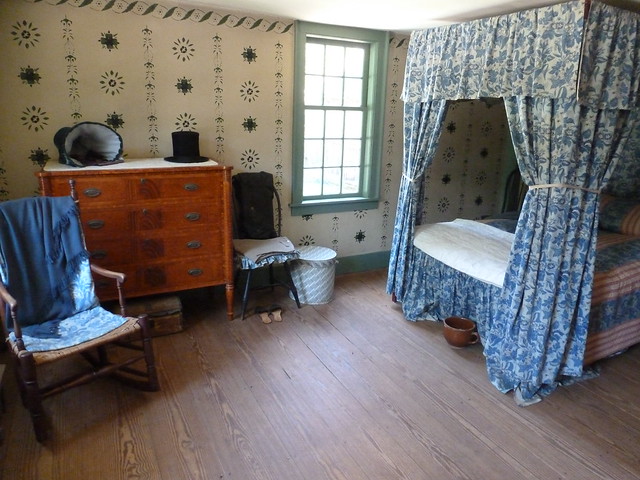
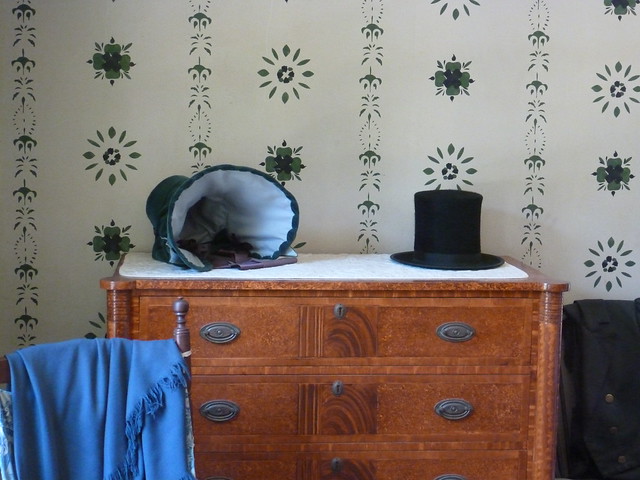
What follows is something of a photo essay of some of the domestic interiors and work spaces I encountered on my journey around the village.  The exhibit spaces - particularly the domestic ones - are beautifully staged to speak eloquently about the lives of those who once occupied them and called them home.  Everywhere you look, there are "personal" touches and details that make the museum experience extra special and even more memorable.

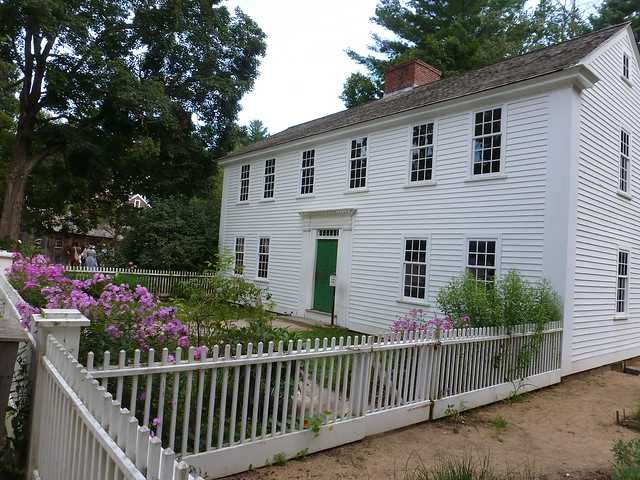
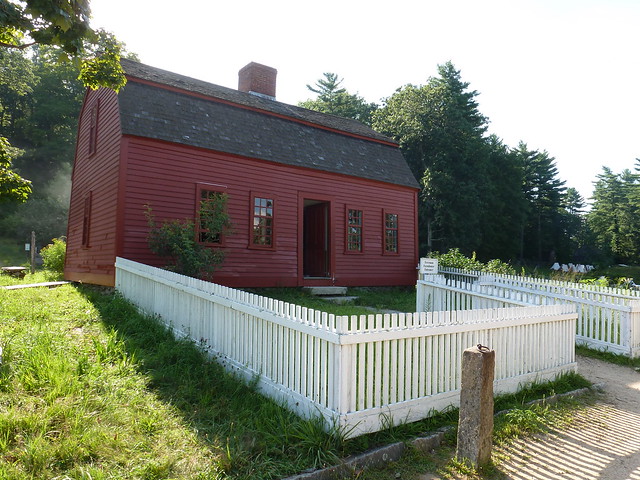
The Parsonage

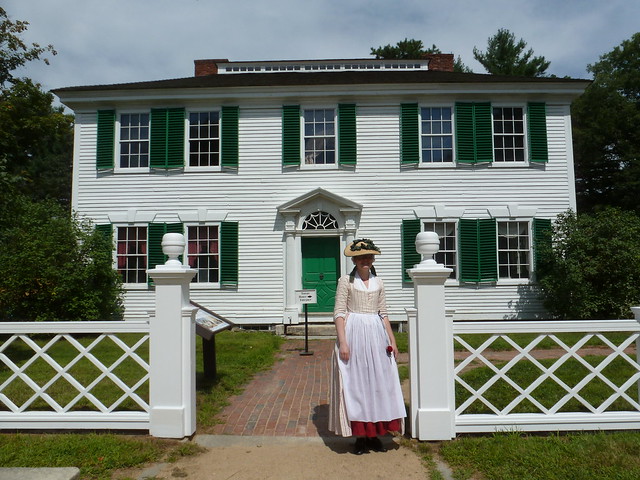
Situated on the village green, this c1748 house was moved from its original location in eastern MA to its new home in 1940, where it now interprets the typical home of a New England minister.

Redcoats and Rebels 2013 at Old Sturbridge Village

Redcoats and Rebels 2013 at Old Sturbridge Village

Redcoats and Rebels 2013 at Old Sturbridge Village

Redcoats and Rebels 2013 at Old Sturbridge Village

Redcoats and Rebels 2013 at Old Sturbridge Village

Redcoats and Rebels 2013 at Old Sturbridge Village

Redcoats and Rebels 2013 at Old Sturbridge Village

Redcoats and Rebels 2013 at Old Sturbridge Village

Redcoats and Rebels 2013 at Old Sturbridge Village


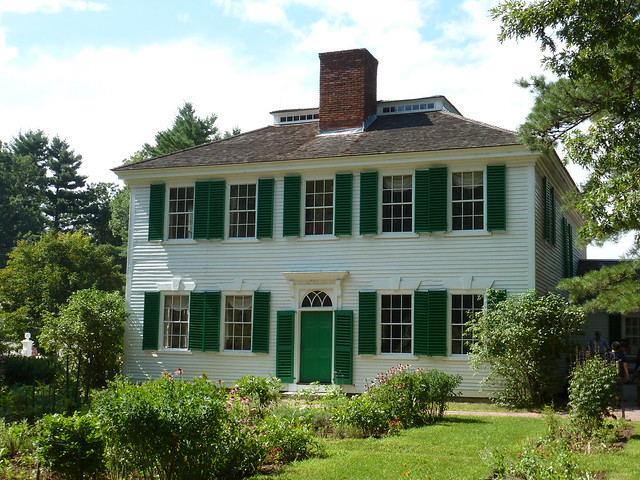
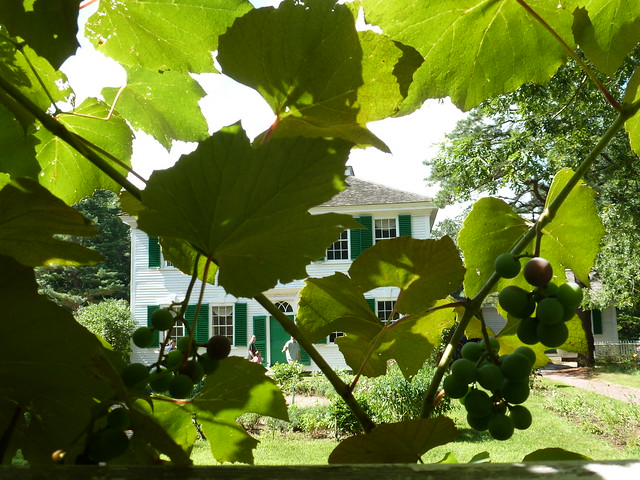
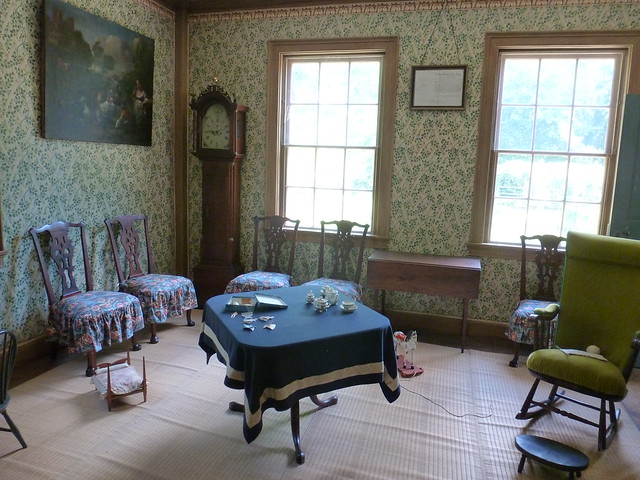
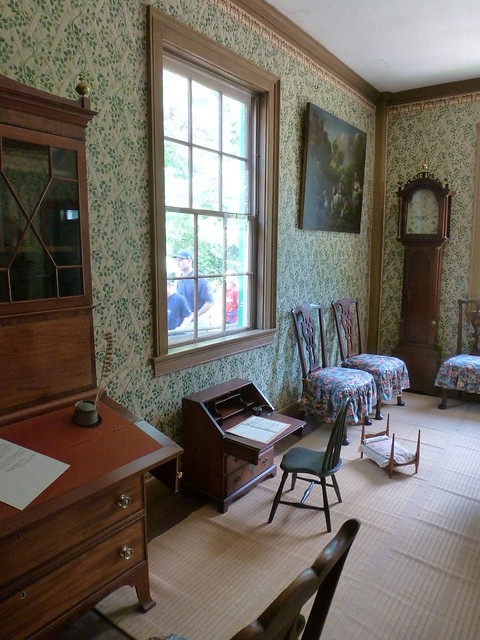
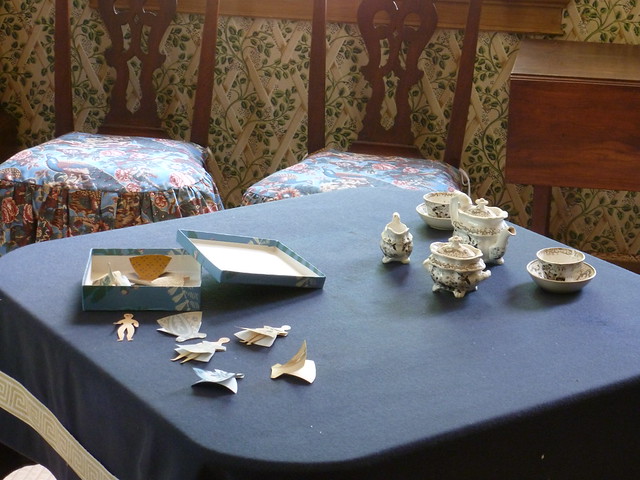
The Salem Towne House

From its perch at the foot of the green, the 1796 Salem Towne House's imposing size and elegant architecture commands the admiration of all who pass by.  In the 1820s and 1830s, it was the home of Salem and Sally Towne and their large family.  The rooms of the house now interpret the family life of this well-to-do businessman, with toys strewn about the parlor and fashionable furniture and decorative pieces gracing its rooms.

Redcoats and Rebels 2013 at Old Sturbridge Village

Redcoats and Rebels 2013 at Old Sturbridge Village

Redcoats and Rebels 2013 at Old Sturbridge Village

Redcoats and Rebels 2013 at Old Sturbridge Village

Redcoats and Rebels 2013 at Old Sturbridge Village

Redcoats and Rebels 2013 at Old Sturbridge Village

Redcoats and Rebels 2013 at Old Sturbridge Village

Redcoats and Rebels 2013 at Old Sturbridge Village

Redcoats and Rebels 2013 at Old Sturbridge Village

Redcoats and Rebels 2013 at Old Sturbridge Village

Redcoats and Rebels 2013 at Old Sturbridge Village

Redcoats and Rebels 2013 at Old Sturbridge Village

Redcoats and Rebels 2013 at Old Sturbridge Village

Redcoats and Rebels 2013 at Old Sturbridge Village

Redcoats and Rebels 2013 at Old Sturbridge Village

Redcoats and Rebels 2013 at Old Sturbridge Village

Redcoats and Rebels 2013 at Old Sturbridge Village

Redcoats and Rebels 2013 at Old Sturbridge Village


The Freeman Farmhouse

Original to the town of Sturbridge, this 1808 farmhouse was relocated to OSV in 1950 to interpret New England farm life of the 1830s.  As a fully-functional farm with multiple barns to house animals and extensive fields in which to cultivate crops common to the central MA location, the Freeman farm site recreates the natural and seasonal rhythms of rural, pre-industrial daily life.

Redcoats and Rebels 2013 at Old Sturbridge Village

Redcoats and Rebels 2013 at Old Sturbridge Village

Redcoats and Rebels 2013 at Old Sturbridge Village

Redcoats and Rebels 2013 at Old Sturbridge Village

Redcoats and Rebels 2013 at Old Sturbridge Village

Additional photos from around OSV can be found on this flickr set.  Ashley also posted photos and further information from one of her previous visits in an earlier post, which you can find here.  If you're interested in learning more about these buildings or about visiting Old Sturbridge Village, be sure to visit their website!