
A Winter Wedding Cloak
I debated whether or not to include this project under the "Threaded Bliss" category since it's not a historical garment, but in the end I decided it's historically-inspired, so it deserves a place here anyway. :-)
This cloak was made as a "commission"/wedding present for a good friend's winter wedding. She selected the fabric to coordinate with her wedding colors and provided the pattern, and I went to work! It took a LOT longer than I thought it would, but it came out quite pretty and looked gorgeous with her wedding day ensemble. I hope it achieved the vision she had of it in her head for so long!
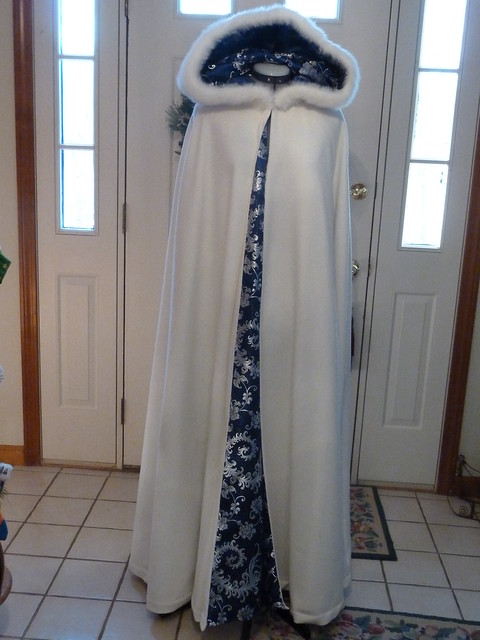
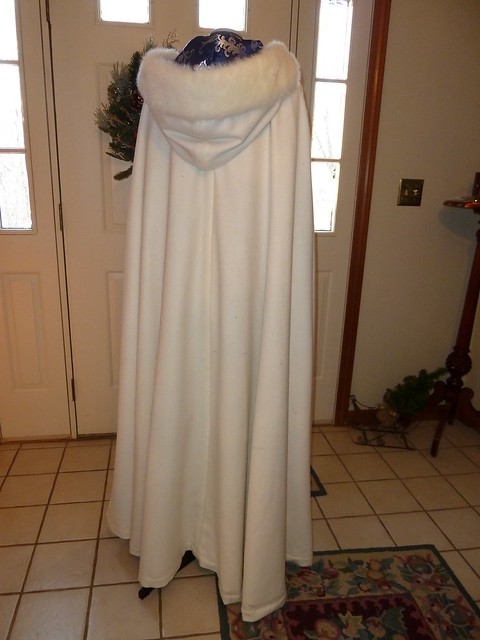
The pattern: Butterick 3084, an out-of-print cloak and cape pattern. The pattern was extraordinarily easy, though it required some serious reshaping in the shoulders. Whoever designed it must have had quarter-back shoulders because this was definitely excessive! It isn't a historically accurate pattern by any means, but perfect for a luxurious and drapey fantasy look, which is what my friend was looking for. The oversized hood has a fabulous drape as it rests on the shoulders, either worn up or down.
Construction Details: The pattern called for a bag-lined cloak, but we opted for three layers instead, both to give it a more couture and classy finish and because of the fabric choices. The cloak is lined in a stunning royal blue and silver brocade, which showed through the creamy white outer wool layer and thus necessitated an interlining. I therefore decided to machine-stitch the long seams of the outer layer, the interlining layer, and the brocade lining layer and attach the hoods to each by machine, so that I essentially had three cloaks, one in each fabric. Then I attached the brocade and the interlining cloaks (wrong sides together) along the outer edges, leaving the bottom hem open so that I could turn it right-side out. Then I hand-stitched the two layers together down the long body seams to ensure that they would drape correctly and not shift around too much. Next, I stitched this lining to the wool outer layer along the edges using the 18th century technique of turning under the wool edges and finishing them and attaching the lining with the single step of utilizing the "le point a rabattre sous la main" stitch. The long body seams of the wool layer were then sewn down to the seams of the lining, as in the interlining/lining piece. Then I finished the hem of each of the three layers individually to ensure that there was no bunching or bubbling when the very full cloak hung off the shoulders, and to make sure the hems all hung evenly.
The final touch was some beautiful (and I mean beautiful) fur edging applied to the hood. My friend's mother had bought her a fur muff and decided that in order to ensure the muff's fur perfectly matched the hood's fur, the best option would be to buy a matching stole and cut it to fit the hood. I won't lie - it was terrifying cutting into that stole! I cut a 3" strip from it, finished off the edges by turning them under, and then applied it to the hood edge by hand with tiny whipstitches that wouldn't be visible.
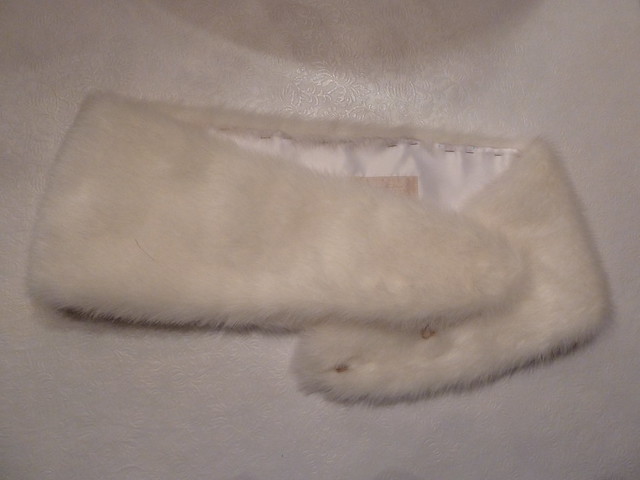
The fur stole, prior to creative mutilation by my scissors.

The re-incarnation of the fur stole as edging on the hood.
The Fabric: The outer layer of the cloak is a very yummy creamy-white wool that my friend drove all the way to Vermont to find. She couldn't find any wool locally that was high-quality enough for the look she wanted, so she visited the Dorr Mill Store and found a stunning piece of wool that is so buttery soft and was a dream to work with. If you're on the look out for high-quality wool at very reasonable prices, take a look at their website because I highly recommend it!
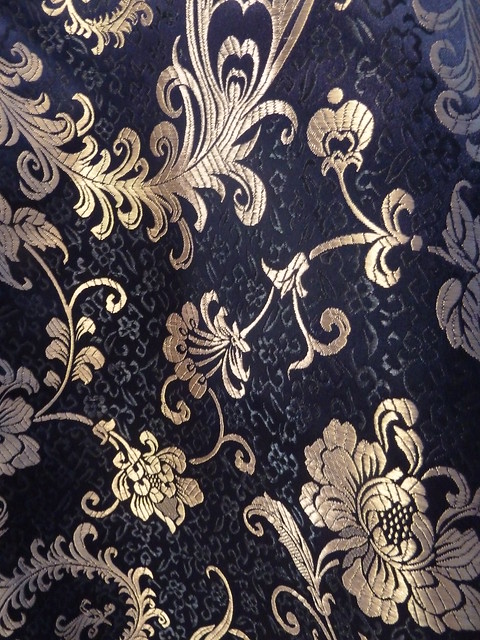
The lining is a royal blue and silver brocade with a very 1750s-esque pattern. It looked gorgeous with her sapphire and diamond jewelry! It's a little tough to see in the pictures of the full cloak, so here's a close-up. Isn't it pretty?
Finishing the Look: Well, I'll just let that speak for itself!

Congratulations to my very dear friend and her new husband! :-)
1 comment:
This is lovely. I never would have thought to put a print inside!
Laurie
Post a Comment