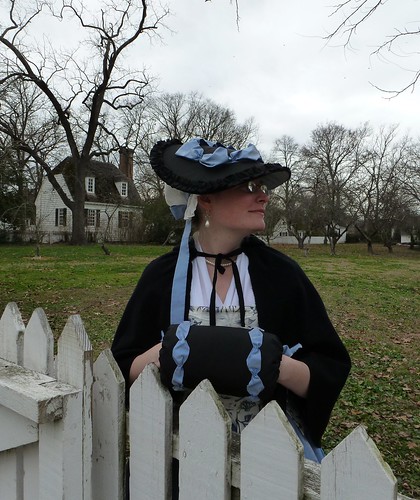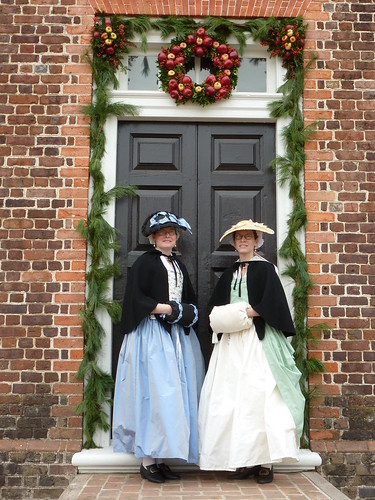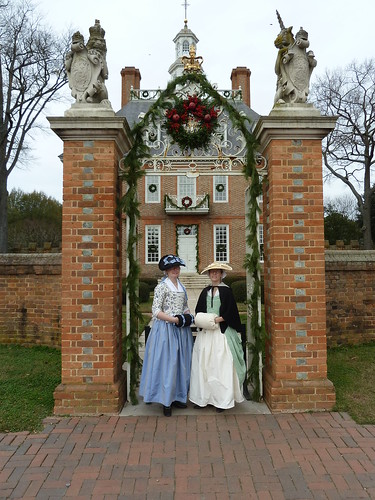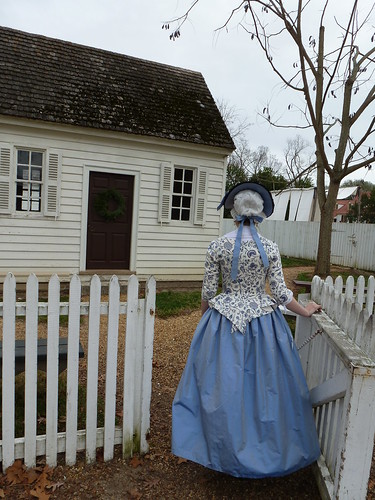
A Red Floral Print English Gown, 1770-1780
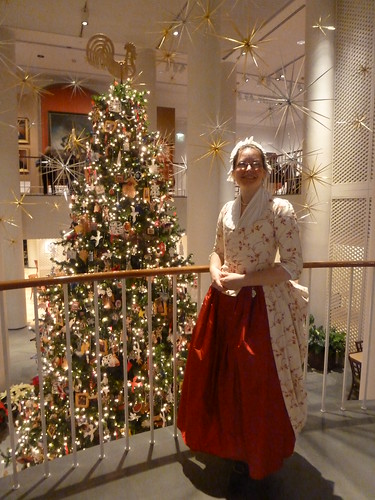
The gown paired with a red silk petticoat.
Photo taken at Colonial Williamsburg, December 2011.
In keeping with the spirit of the holidays, here's a project in the festive, seasonal colors of red and white! This gown was finished in mid-June and worn for the first time during our regimental tavern dinner during this past summer's Under the Redcoat. When I brought it out to wear for Grand Illumination a couple of weeks ago, I realized I had neglected to post about it!
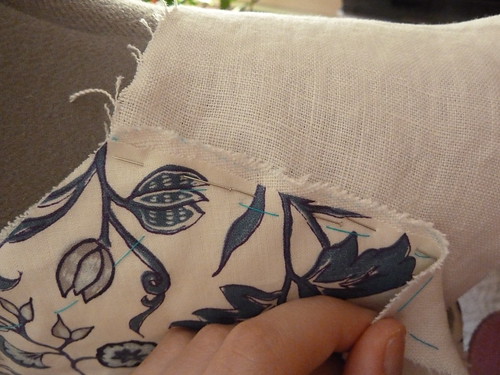
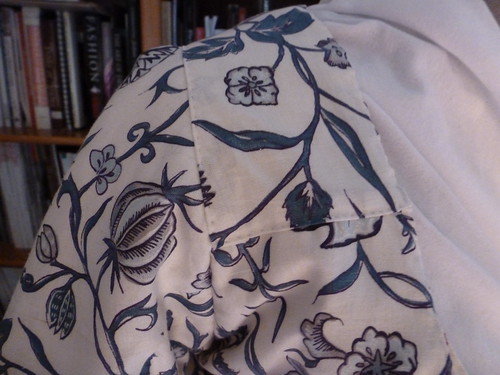
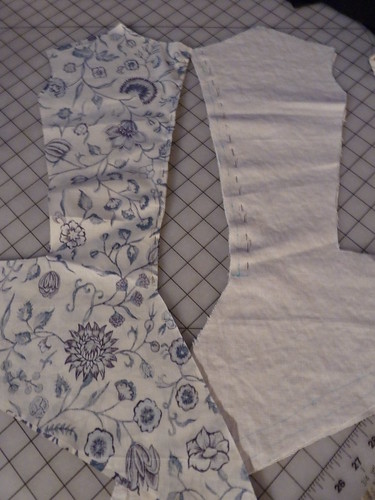
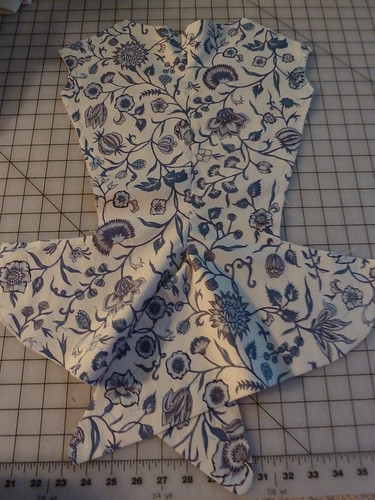
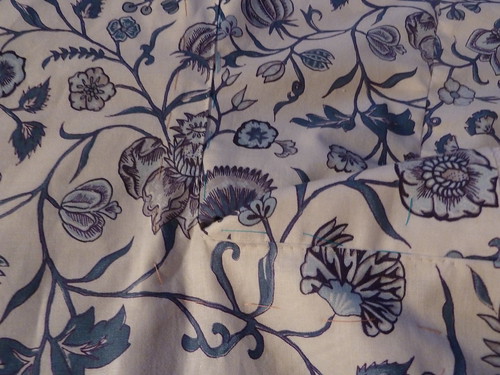
The pattern: Draped by me. The slightly curved back neckline is a feature of the "en fourreau" gown on page 36 of Janet Arnold's Patterns of Fashion 1; I copied it on Ashley's "DAR gown" and liked the way it looked so much that I decided to do my next gown the same way! The more modest size of the "en fourreau" back pleats (neither very wide nor very narrow) and their relatively "triangular" shape date this gown generally to the early to middle part of the 1770s.
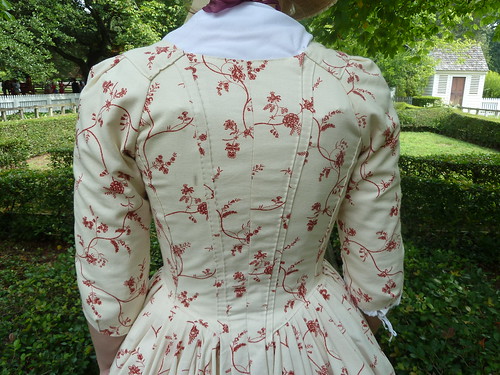
The slightly curved back neckline.
Photo taken at Colonial Williamsburg, July 2011.
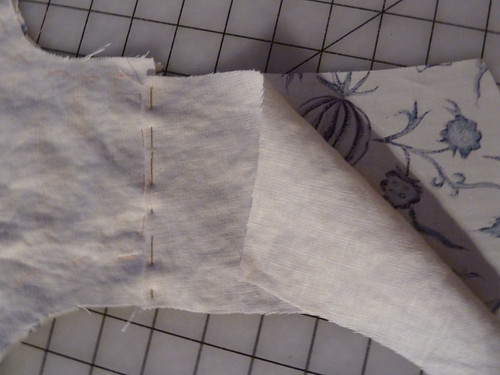
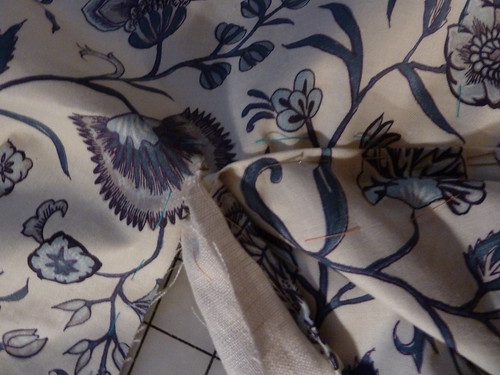
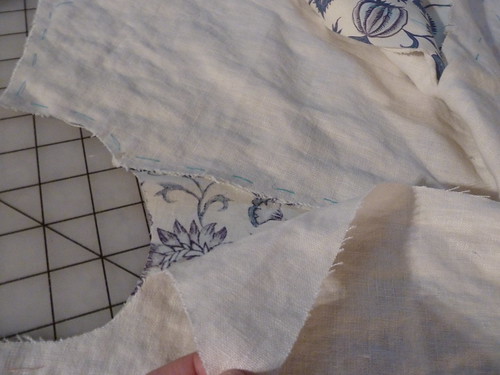
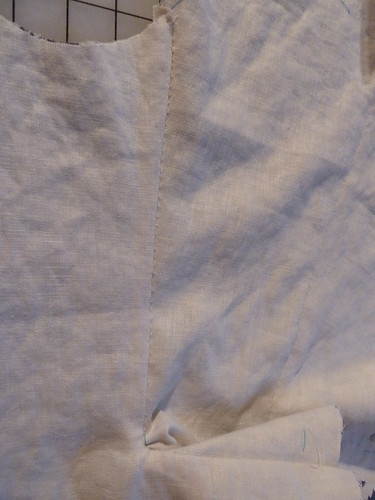
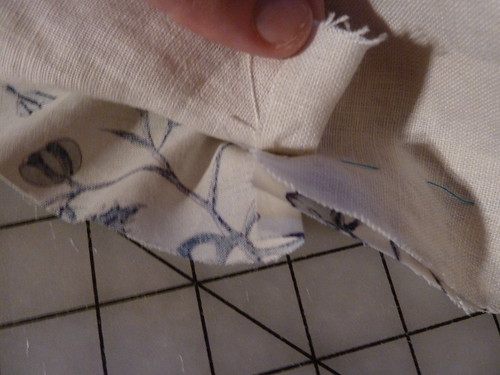
Construction details: As the construction details for this gown are identical to those on Ashley's lavender linen and DAR gowns, I'll avoid being repetitive by only offering some additional comments here that are specifically related to my experience with this particular project. I also haven't taken any interior shots, as these too closely resemble those found in the two previous posts.
The biggest challenge to doing this gown for myself was that instead of having a real body to drape on, as I do when I do Ashley's clothes, I had to cut it for myself on a (cheap and icky) dressform that doesn't accommodate my stays in a very satisfactory way. In other words, I can get the proper bodice measurements using my undergarmented dressform, but anything above the bust (armscyes and shoulder areas, cutting the neckline) is impossible on my plastic horror of a form and has to be done by putting everything on myself and looking in the mirror as I mark lines and make adjustments...and take it off and tweak...and put it back on and tweak...and take it off and tweak some more...and...you know how this story goes! It's a bit awkward and it takes longer than having a real body to drape on, but I've done several eighteenth-century gowns for myself already using this method and it's worked out fairly well. I'm currently searching for a more malleable, actual-body-approximating dressform with the hope of facilitating the self-draping, so fingers crossed I find something soon! Laurie, our friend from Teacups in the Garden, has recommended Uniquely You, which I'm leaning towards at the moment. If anyone else has a suggestion, I'd be very happy to hear it!

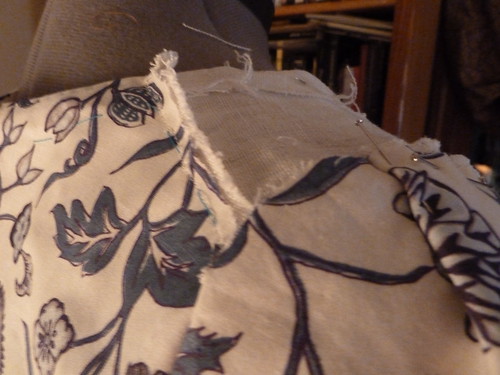
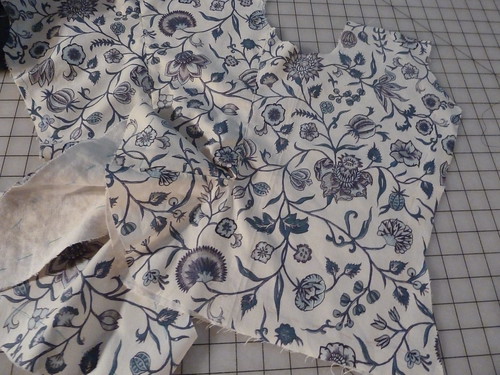
The back of the gown, showing the "en fourreau" pleats.
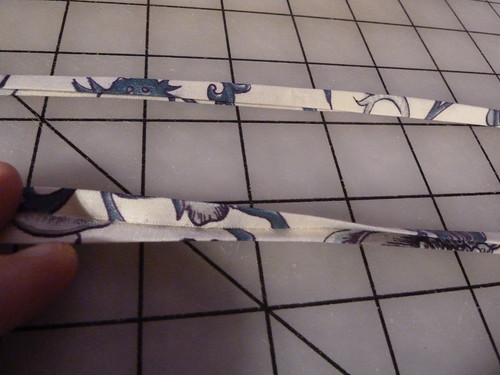
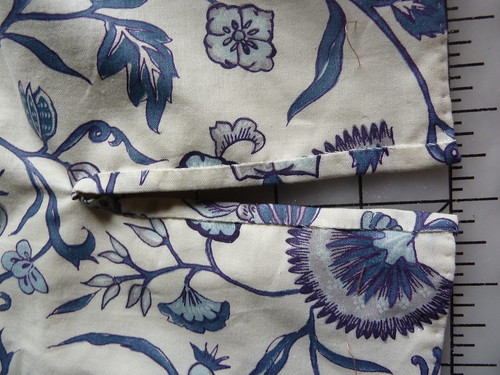
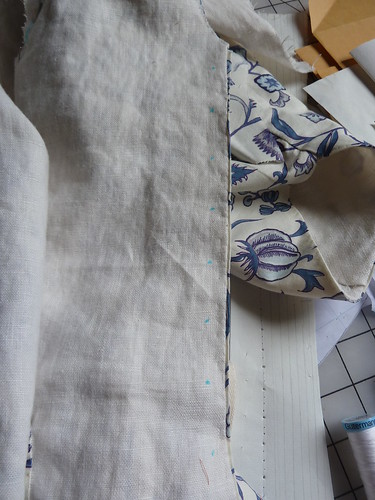
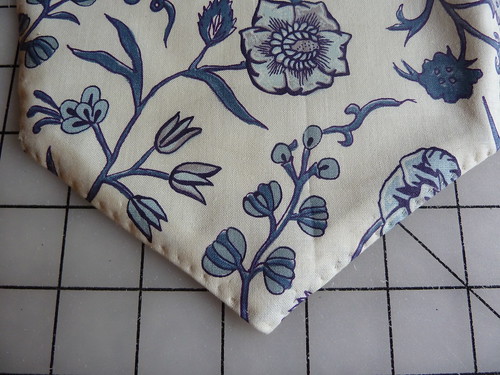
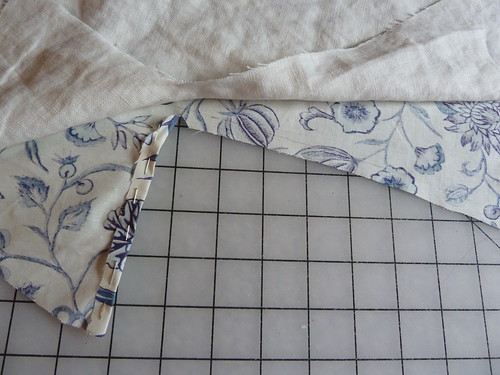
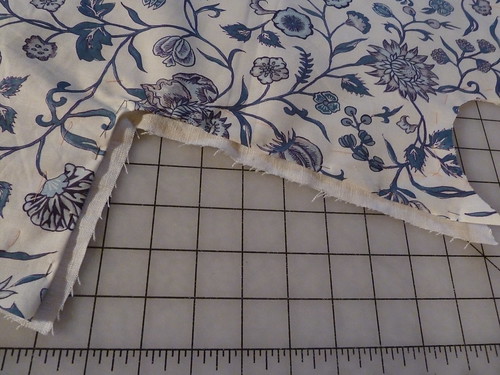
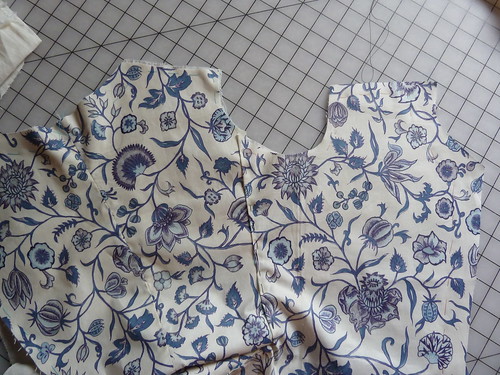
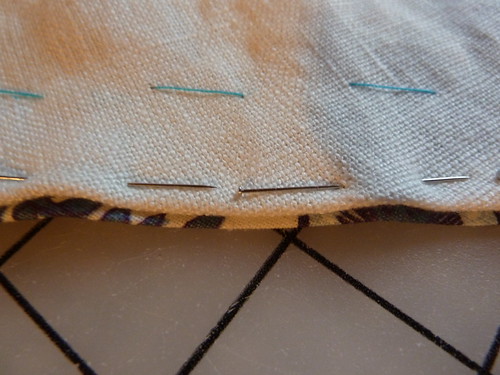
The fabric: If this print looks vaguely familiar, you're right! This is the red version of the blue print I used on my quarter back gown (which, coincidentally, I'm in the process of pulling apart and remaking...more to come on that!). It is an out-of-print (sadly, because it's so perfectly period!) Laura Ashley print in a 90% cotton/10% linen blend. The texture is fantastic; rather than having the smooth hand that we associate with finer imported cottons of the period, it has a very "homespun" feel, a tad bit heavier than a period chintz or other cotton print, and very similar to the rougher textures that can be seen on the cotton and cotton blend textile tokens in John Styles' books. The interpretive possibilities this opens up are very exciting! In Fashion's Favourite: The Cotton Trade and the Consumer in Britain, 1660-1800, Beverly Lemire explores the rapid expansion of the cotton industry - both European-produced and imported - during the last quarter of the 18th century and the subsequent spread of cotton's popularity amongst not only the middling classes, but also the working classes, who suddenly found these bright and fashionable prints well within their financial means (pgs. 96-108).
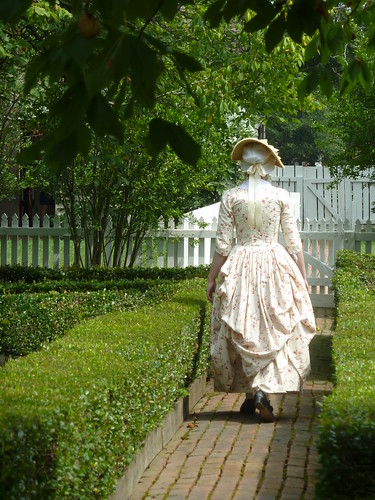
Photo taken at Colonial Williamsburg, July 2011.
Finishing the look: Because this is a single color cotton print, and because of the weave and the mixed content of this textile, it can feasibly be worn as either a middling day wear impression or as the "nicer" garment of a woman slightly lower on the social scale. The petticoat choice and the addition of particular accessories (or lack thereof) help convey one identity or another.
There are three petticoats that coordinate with this gown. One is the red silk petticoat pictured in the "header" photo above. The second is a matching petticoat, the "middle" degree of poshness, if you will, that is possible for this gown.
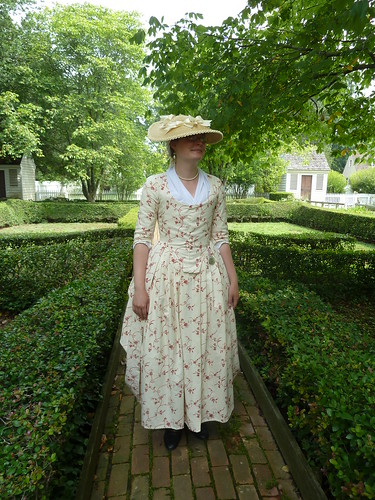
With a matching petticoat.
Photo taken at Colonial Williamsburg, July 2011.
The third option I've made is a solid red cotton twill of a weight that matches the gown itself, which works nicely because it drapes in a similar way when worn.
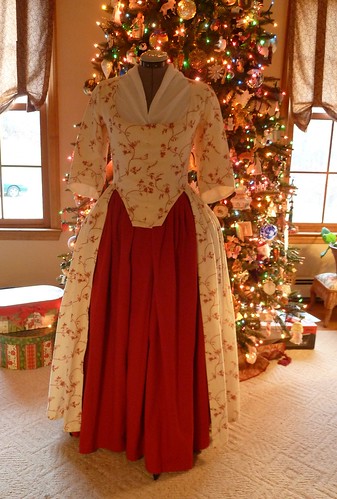
In the outdoor photos and the "header" photo, the gown is accessorized with a cotton lawn neck handkerchief, a linen lawn cap, a single strand of pearls, my favorite pair of silver pearl drop earrings (by Janice Erickson Smith), and a silver pocket watch, to represent the dress of the middling sort. The indoor Christmas tree pictures pair the gown with the cotton twill petticoat and a plain-weave linen neck handkerchief to convey a slight downplay in the social status of its wearer. As always, the outfit is pictured being worn over my Diderot stays and two linen petticoats.
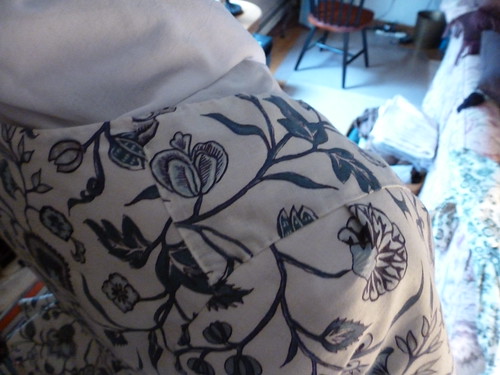
When I took the pictures with the red cotton petticoat, I made the addition of a small hoop, just because I was playing around and wanted to see how it suited the shape of this gown (this is the hoop that's mentioned in the post about Ashley's sea green gown). The shape it provides is consistent with the early to mid 1770s, when fullness at the sides of the body returned briefly, before being replaced by the fullness at the back which characterizes the silhouettes of the 1780s. The hoop helps to hold out the skirts nicely (especially when they're worn "a la polonaise"), and after testing it out on the dressform, I wish I had thought to make at least one of my petticoats to accommodate it! Alas, I did not, because I made the gown and its petticoats to be worn as the "for good" ensemble of a UTR camp-following lady who probably wouldn't have been able to tote a hoop along with her! Ah well, next time. At least it works for the sake of the pictures! :-)
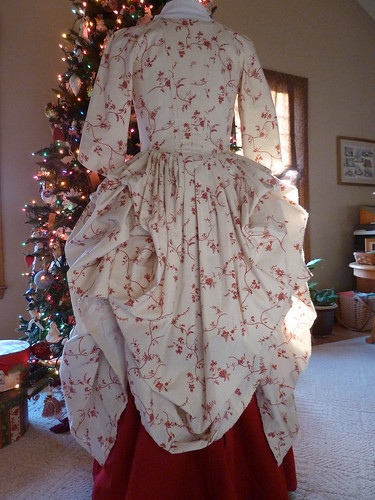
The "a la polonaise" skirts of the back of the gown, supported by a small hoop.
Additional photos of this project can be found on its flickr set.