- Rebecca
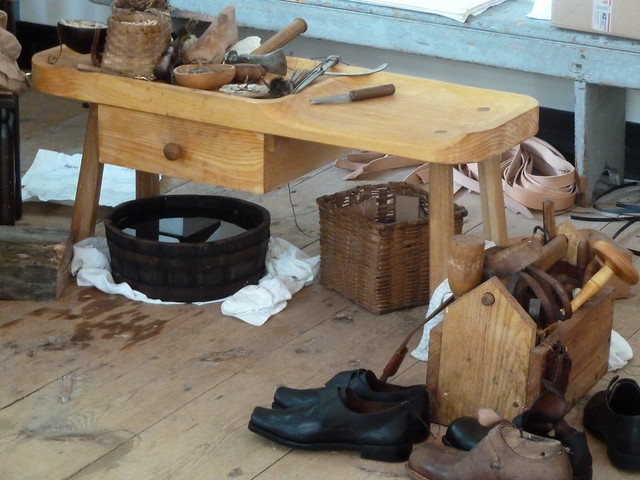
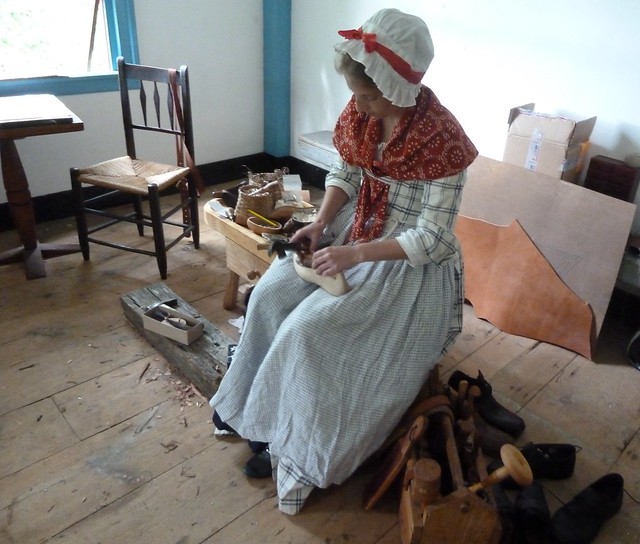
The shoemaker's bench and tools of the trade.
Our ladies turnshoe workshop at Eastfield Village in NY (see the previous post for a look at the location) was led by one of the shoemakers at Colonial Williamsburg. There were six of us students who had committed to the entire week-long workshop, though we also enjoyed the company of two other individuals who stopped by the observe and to help out for a couple of days. The group as a whole was fantastic, and we so enjoyed meeting new friends - including Miss Emily of Emily's Vintage Visions! - and getting to know everyone over the course of the workshop week.
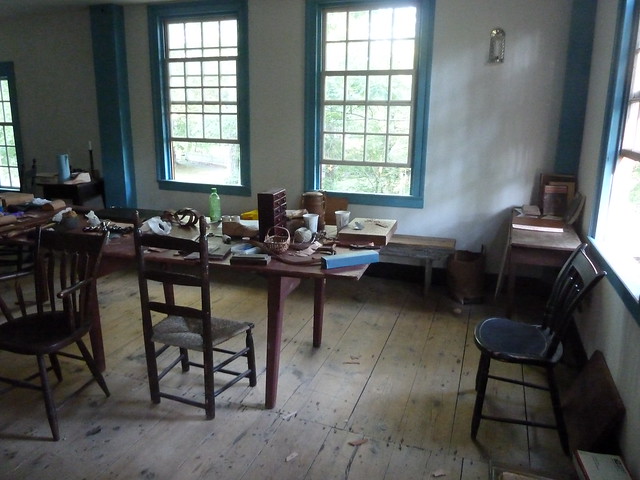
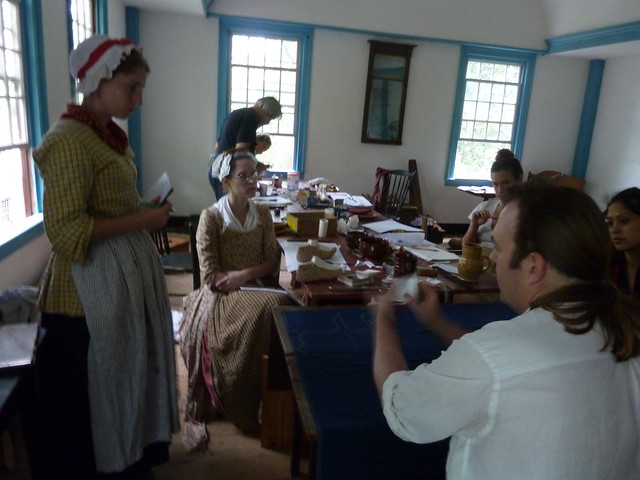
Our workshop very early in the week, before it became covered in bits of
wood shavings, leather, and thread!
The first day, Saturday, served as a general introduction to working with leather and to preparing and caring for the tools of the shoemaker's trade. This included learning how to make up threads with boar bristles (the shoemaker's needle!), how to make and use shoemaker's wax, learning how to sharpen and handle different kinds of awls and various knives, learning the names and functions of a handful of other tools, and learning several different stitches commonly found on shoes dating from the 18th century. We began work on a couple of trial projects, which provided us with the chance to practice working with our new stitches and tools while simultaneously producing two items that would be necessary to the shoe-making process later. Having never worked with leather before, we both quickly discovered that learning its properties, temperament, and capabilities would prove to be an ongoing lesson in itself!
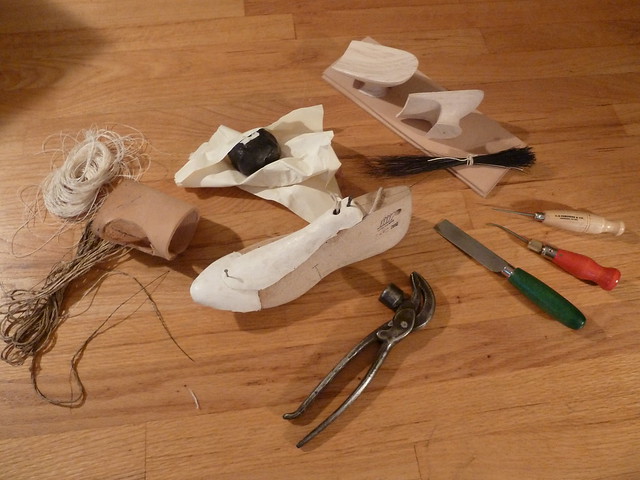
Some of the tools and materials of the shoemaker's trade.
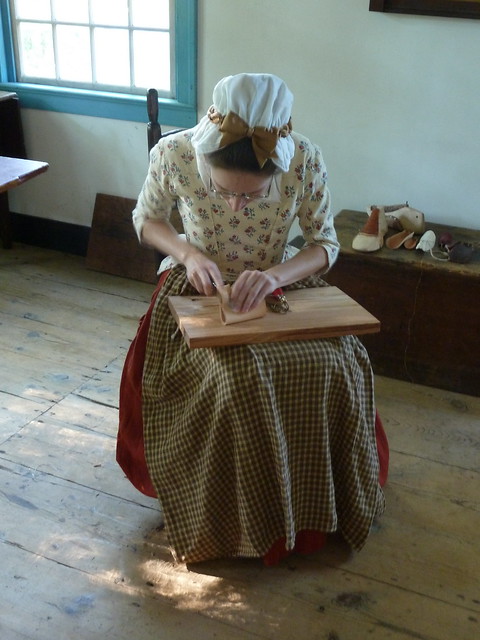
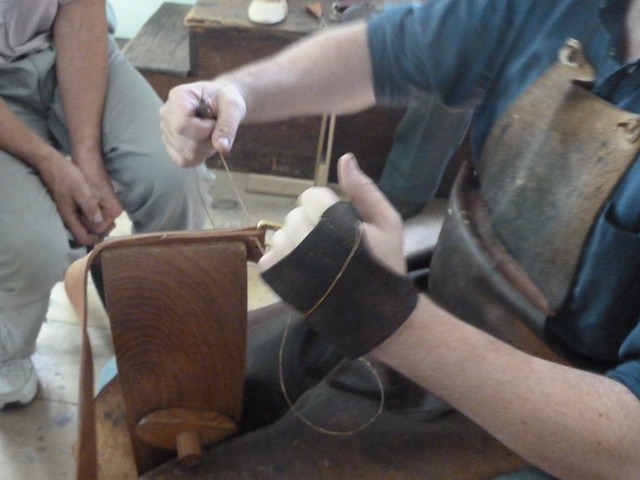
Ashley working on sewing her hand-leather, which protects your hands
as you pull stitches tightly together.
Learning the shoemaker's stitch.
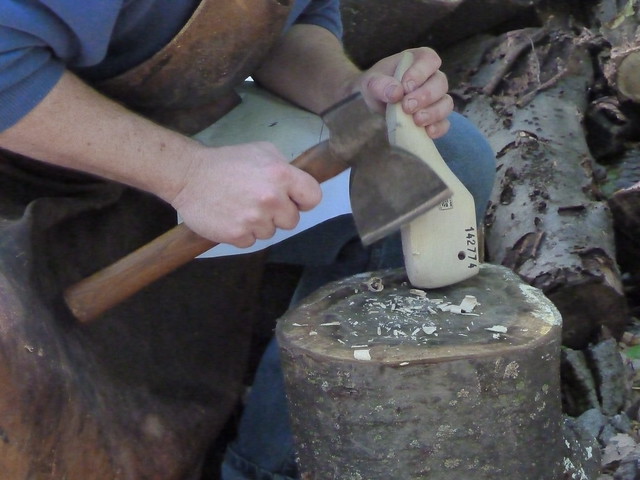
Sunday was an off day, so when we returned on Monday, we devoted some time to finishing up our practice pieces before starting on the next task: measuring. Our instructor led us through the proper techniques to determine and accurately measure all of the key points of the foot. Once these measurements were obtained, we then used them to select a last closest to our individual sizes and began the work of whittling and shaving and sanding away the excess wood in all the necessary places so that the last would match our foot measurements exactly. Because we're making straight-lasted shoes, both shoes can be built from a single last.
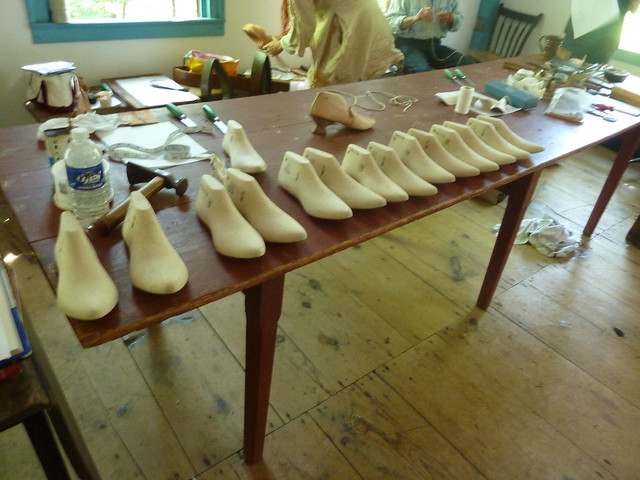
A line of lasts! A selection of standardized sizes were provided, and once we'd
found the one closest to our individual measurements, we then set about
refining it to perfectly replicate the size and contours of our own feet.
Some of us had to remove more stock than others off the last...
In order to achieve the proper shoe shape of a 1770s-1780s shoe, preparing our lasts also involved building on and shaping a toe pin, which extends the length of the last to a fashionable point. Because of our individual foot lengths and the unique shapes of our feet, some of us (ahem...) had to build larger toe pins than others, which took a significant amount of time and was a definite lesson in patience and perseverance when learning how to wield a knife through leather!
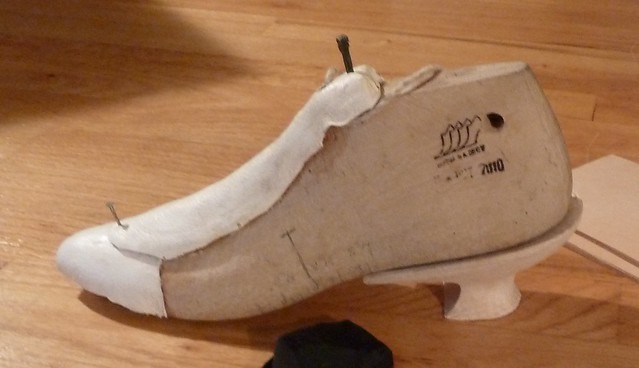
A completed last with toepin covered in white leather, and the instep nailed to the top.
(The heel is not part of the last, I just rested the last on it for the picture!)
Our next step was to build the instep, which is a leather piece that sits atop the last as the shoe is built over it. If an instep wasn't used, you wouldn't be able to remove the completed shoe from the last; slipping out that instep once the shoe is finished allows sufficient wiggle room between the last and the shoe to be able to slip if off easily. Building the instep was another challenge that took a full day and a half, but like the last and its toe pin, it is imperative that it be measured with the utmost preciseness to ensure that the shoe that is built over it fits as snugly and accurately as possible.
Miss Emily at the shoemaker's bench, working on her instep.
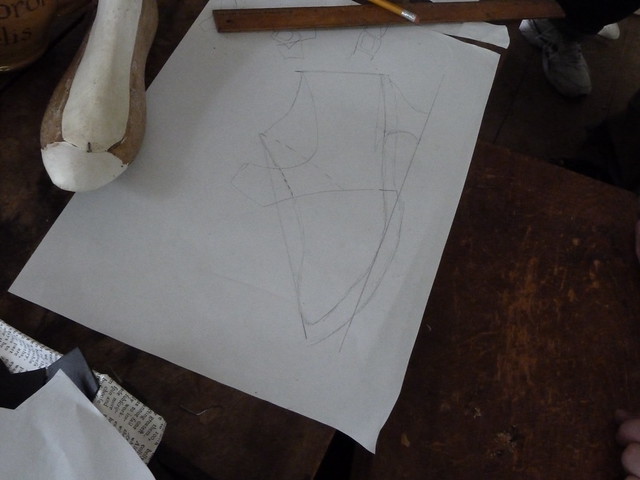
Learning how to create a custom pattern for our individualized lasts.
Emily and Ashley listening and note-taking.
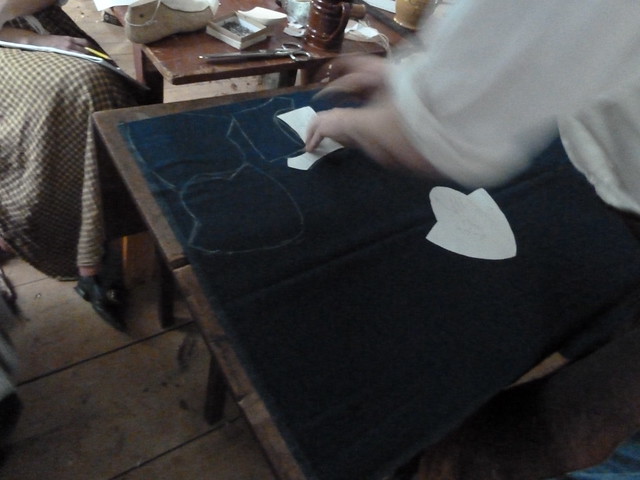
A truly 18th-century lesson in clicking with economy!
By Friday, we were all hard at work sewing together our uppers. A couple of the participants finished and began learning how to prepared their soles that afternoon, but both Ashley and I still had work to do on them and didn't get a chance to begin our soles before we had to leave in a desperate attempt to beat the coming hurricane home (which we thankfully did!).
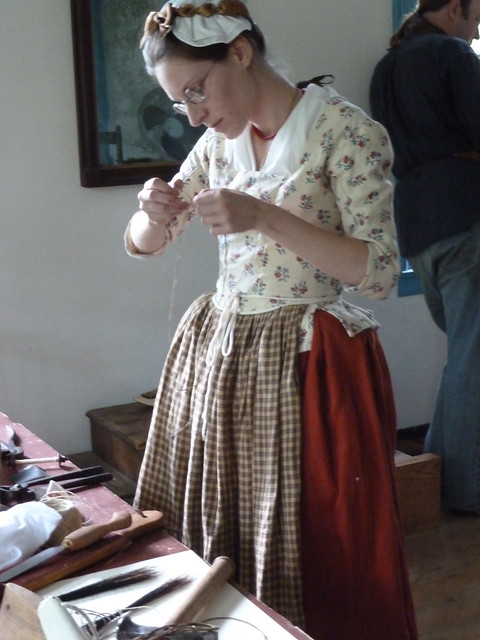
Ashley mastering the art of making up a thread.
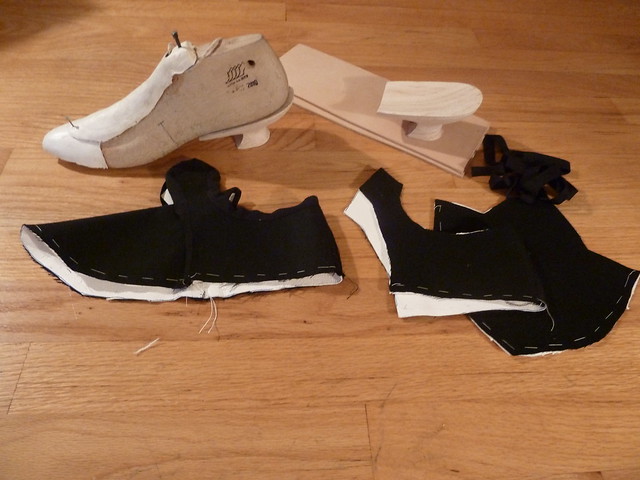
After a week of hard and diligent work, we had made significant headway into beginning the process of making our very own custom - and 100% accurate! - 18th century shoes! The picture below shows the state of my shoes after the workshop, with the completed last and instep. One of the uppers was nearly finished, while the other was still in two pieces, waiting to be bound and seamed together. Ashley's uppers at the conclusion of the workshop week were basically in the same shape as mine.
Rebecca's uppers at the end of the workshop week: one is nearly finished,
while the other is still in pieces.
Over the past couple of years, we've all been desperately attempting to fit all of our busy schedules together to meet up for a follow-up workshop. Several of the participants were able to do this last October, but both Ashley and I unfortunately had work commitments and weren't able to go. It wasn't until a couple of weeks ago that three of us were finally able to gather together again and, under the tutelage of our instructor, get back to work on our shoes. Stay tuned to see the recent (and exciting!) progress!
If you're interested in learning more about the art of shoemaking in the 18th century, check out Art of the Shoemaker, D.A Saguto's superior translated edition of Garsault's 1767 "Art du cordonnier." Nicole of Diary of a Mantua Maker has also done some fabulously informative posts about shoemaking in general and her own personal shoemaking experiences, which can be found here. And Emily has started doing a bit of research into female shoemakers in 18th-century New England; see this post for a most fascinating account of one from Boston.
A plate from Garsault's 1767 "Art du cordonnier," showing shoemakers
at work, along with a sample of stitches and the parts of the shoe below.
Additional photos of the workshop week at Eastfield can be found on this flickr set. Additionally, for more, check out Emily's posts about the workshop and her shoes on her blog. And stay tuned for subsequent posts here of updates on how our shoes continue to progress!
Ashley preparing and refining a thread.



1 comment:
That looks like an amazing place to take workshops! Sometimes I like posting things after I've gotten a little perspective. It also helps me remember the great times, and get motivated to finish all those projects.
Alena
imlivinghistory.blogspot.com
Post a Comment