Two Eighteenth-Century-Inspired
Cross Stitched Pinballs
Cross Stitched Pinballs
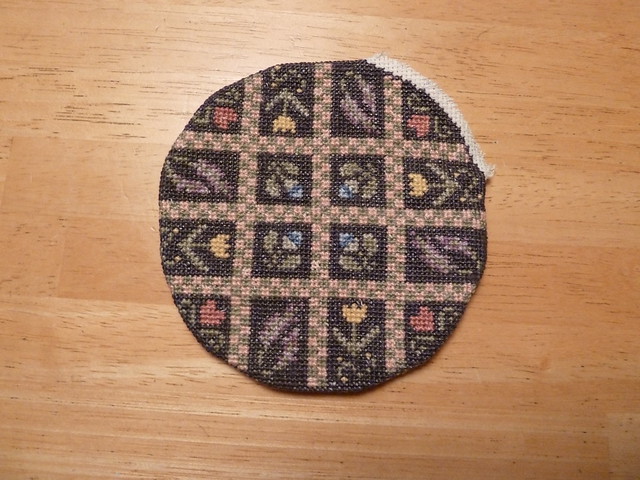
The pattern: We both purchased a kit at Colonial Williamsburg which is designed and distributed by the Posy Collection. The pattern, which is inspired by an original pinball from the CW collection, is very clearly illustrated and easy to follow. Since this was my first attempt at such a project, this kit was an excellent starting point. It also provides a nice basis for designing future pinballs.
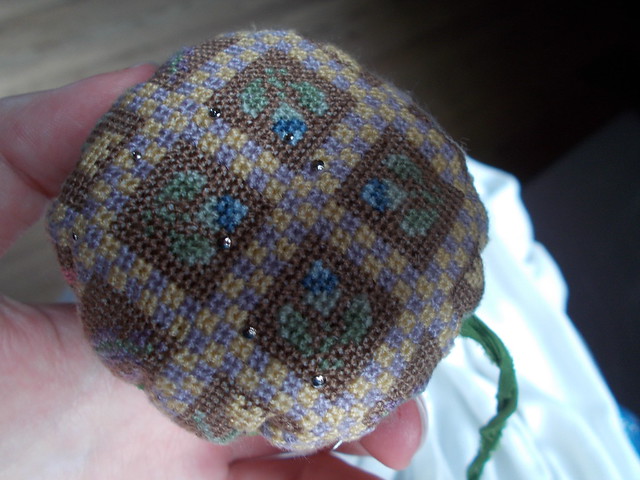
A close-up view of the cross stitches.
Construction details: Each half of the roundish pinball are cross stitched separately. I used cotton Aida fabric as the backing, which proved to be a great help with my amateur needlepoint skills, and cotton embroidery threads. I first stitched the perimeter of the circle and then began filling in with the floral designs and finally the background color.
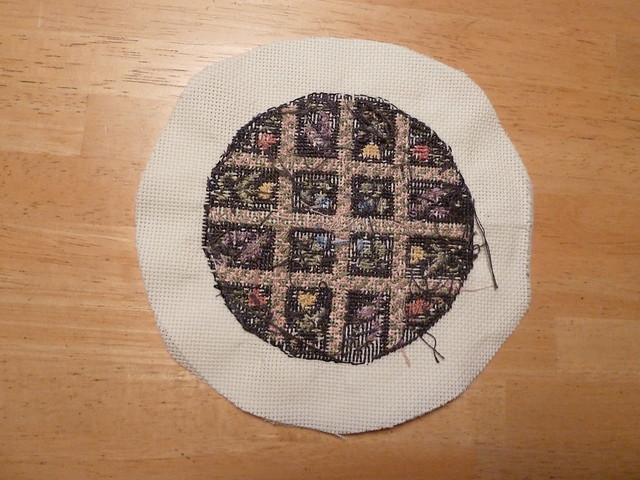
I didn't take in-progress pictures of my pinball, so this is the inside of one
side of Rebecca's after it was stitched, but before it was cut down to size.
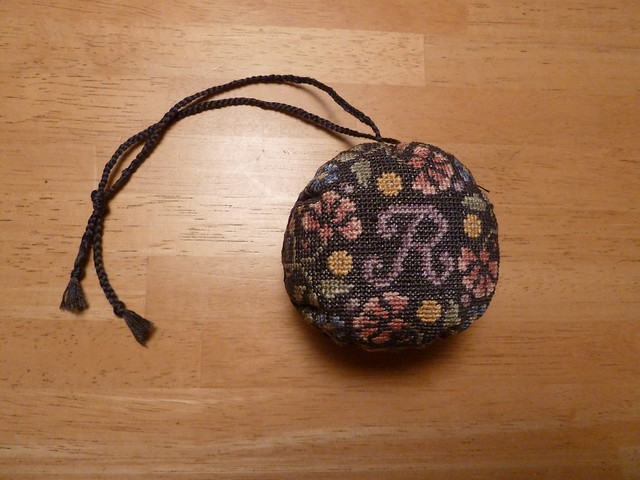
Rebecca had stitched a pinball from the same pattern, so I changed the background color, from a dark grey to a light brown color, to mix it up a bit.Once each half was completed, they were cut out and stitched together. I stuffed the ball with wool from CW's Leicester sheep and closed it with a few more stitches. Pulling tight the stitches around the center gives the pinball the flattened circular shape that we see in many originals.
Rebecca's pinball, pre-stuffing.
Finishing the look: In order to keep them closely at hand, pinballs were frequently suspended from the waistband or the front ties of an apron or petticoat. Sometimes this was done with a metal (often silver) ring and chain (or ribbon), which could either hang independently or be attached to an equipage.

The silver pinball ring I gave Rebecca, with her red
silk velvet pinball. It hangs suspended on a silk ribbon.
Alternative methods of tying on a pinball and/or of concealing the seam include the use of a silk ribbon or a braided cord. Because Rebecca finished hers before she got her pinball ring, she made a braided cord that used the left-over floss from the background of her pinball. A cord like this can be seen on knitted pinball in the CW collection (acc. no. 1971-1315); it serves the dual purpose of concealing the seam and providing a means by which the pinball can be hung from my apron strings.

The braided cord that conceals the seam...
...and provides the means to hand Rebecca's pinball from her apron ties.
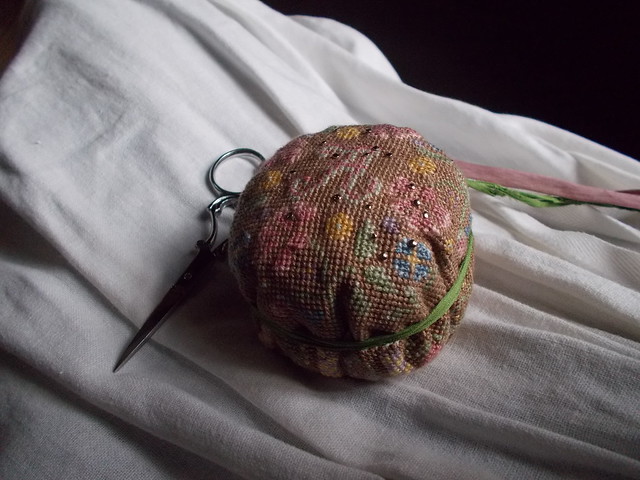
Since I don't have a pinball ring (like the one I bought Rebecca!), I tied a piece of green silk ribbon around the middle. On occasion, I wear the pinball hanging from my waist, along with my scissors. It has proved very handy while working on projects, especially if I'm not sitting in one place all day, and also for quick access to a pin if one is needed!
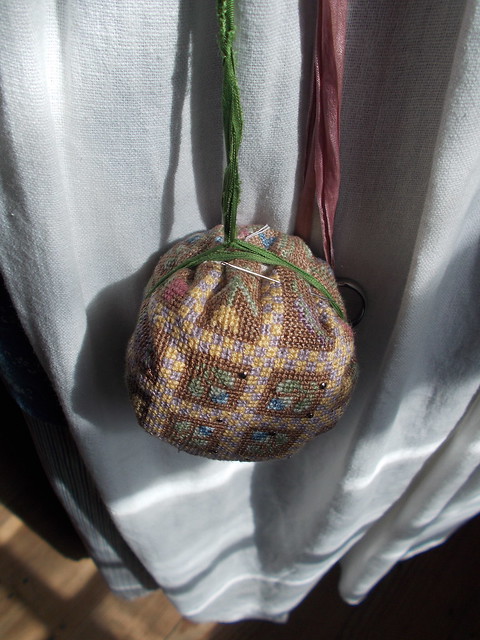
Pinball and scissors hanging from my apron strings.
1 comment:
Such a beautiful pinball! And even with my own initial... :) Interesting projects in your blog.
Post a Comment