Emily (of Emily's Vintage Visions) was one of the attendees at the workshop reunion, and having also been at last year's meeting, she's now getting very close to being finished with her shoes! During the reunion, she worked on stitching in her whittaw heel cover on one of her shoes and oh-so-painstakingly shaping her wooden heels to the proper size and curve to fit her individual foot.
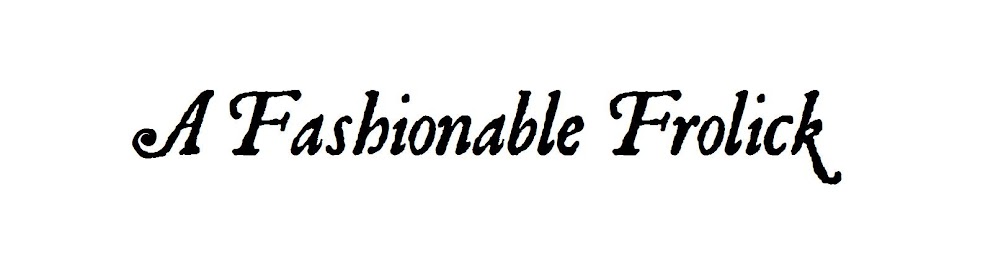
Emily's shoe with the heel cover newly attached...
...and the wooden heel being glued into place.
R, who is making a pair of gentleman's shoes for himself, also made significant progress during the previous meeting, and by our recent July reunion was also nearing the end of the process. Over our two-day meeting, he worked on stitching in the rand of his shoes (gentleman's shoes - like earlier women's shoes - were randed, not turned, like the ones Emily and I are working on).
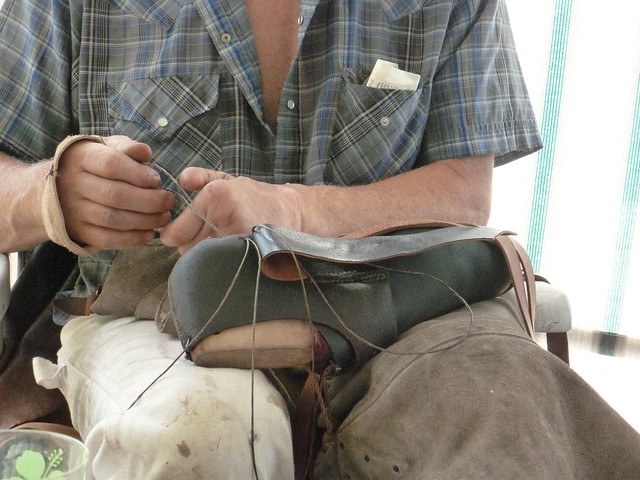
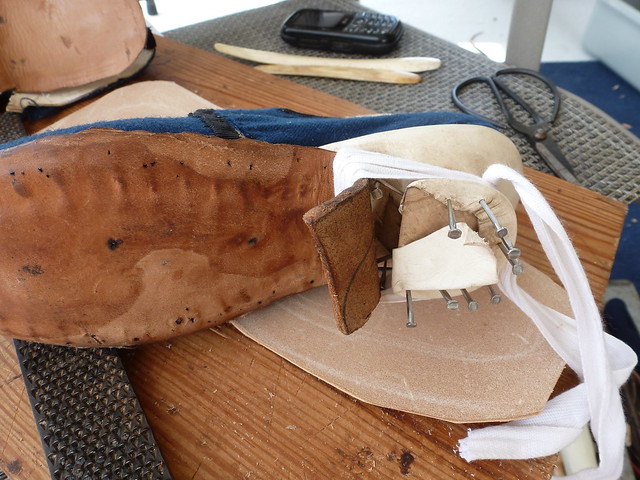
R stitching in the rand on his gentleman's shoe.
Without expert eyes to oversee my work, I hadn't done a thing to my shoes since the original workshop back in 2011. This was the state of them: my last and instep were completed and one of the uppers was almost done. The heels and the sole leather are still in their original, untouched states.
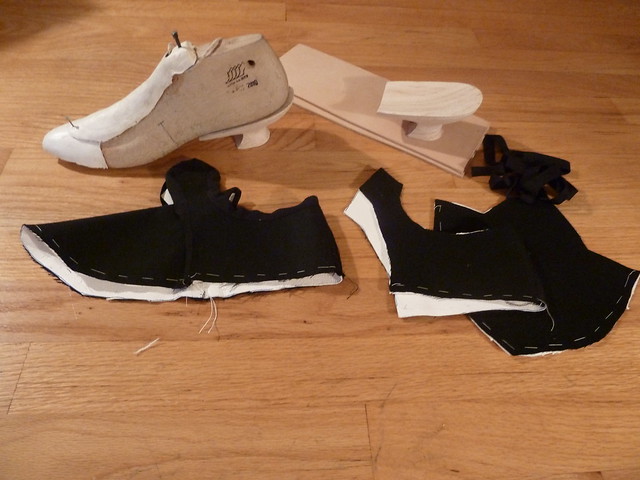
Completed last with instep and uppers in pieces before the July workshop reunion!
Being behind actually ended up working to my advantage in the end! Having encountered a couple of minor fitting issues at the last reunion with the other students, our instructor decided it might be a good idea for me to take the time to make a "trial fitter" test shoe to double-check the fit of my pattern before I went ahead and lasted my calamanco uppers. The trial fitter was assembled similarly to the real shoe, but with much coarser stitching and only very thin scrap leather for the test sole. It turned out that my pattern fit perfectly, so no changes will be necessary with the final shoe! Huzzah! This means I can now start lasting with confidence!
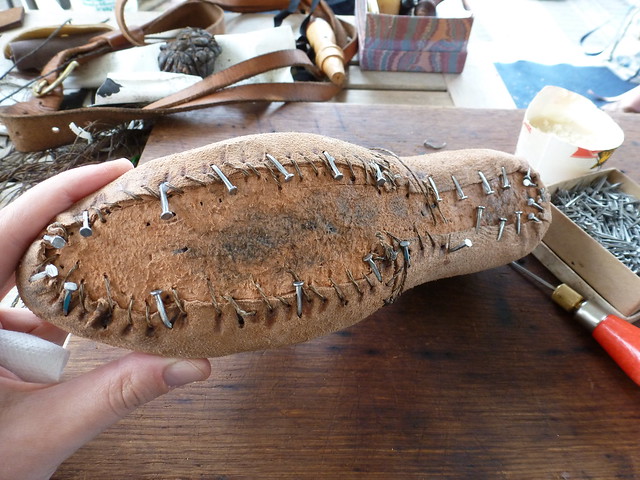
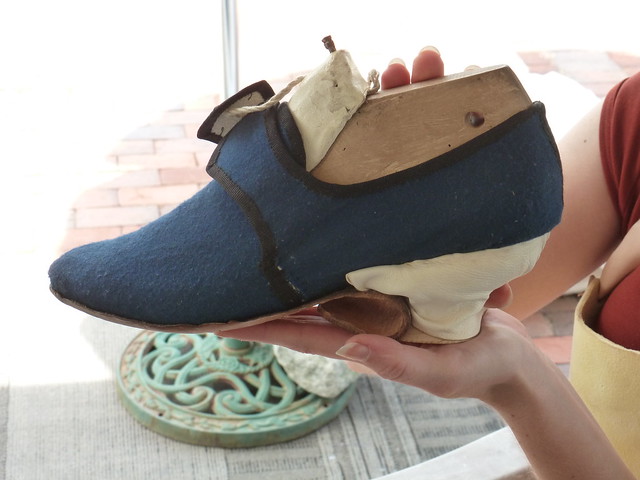
Lasting my trial fitter, sewing the upper to the sole.
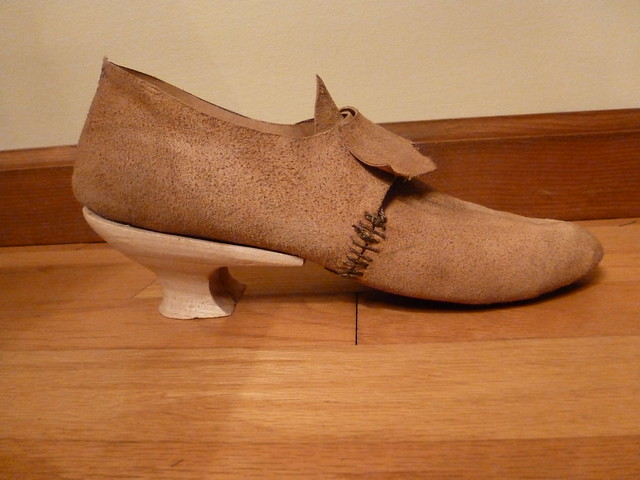
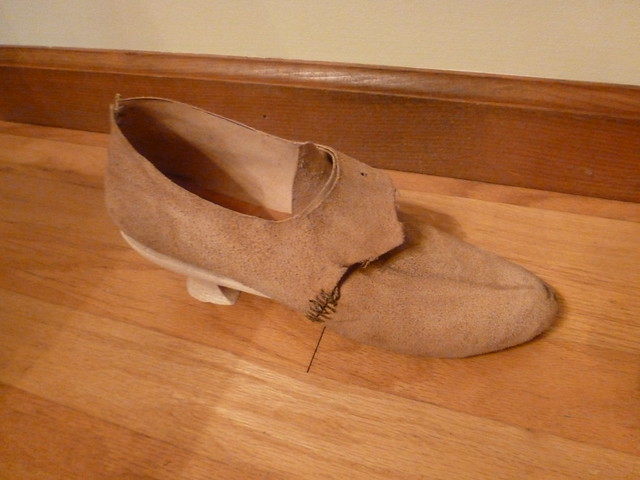
The trial shoe.
After making and testing out my trial fitter, I then spent the remainder of our reunion finishing up my uppers, which are black calamanco lined in a soft but strong whittaw. The edges are bound in black silk grosgrain ribbon.
I have tentative plans to meet up with the instructor again some time in the next month or two, so hopefully these shoes will be well on their way to making even more progress soon! I can't wait until they're done - I have so many other pairs in my mind's eye that I'm longing to make!
3 comments:
Really interesting, thanks for sharing!
We have exposed that there are many made in USA women's dress shoes & accessories brands that offer women's flats, women's pumps, and more all dressy sufficient for work or a nightly out on the town.
In 1763, at the end of the 18th century, the French Revolution had just taken place and the country was recovering from the disaster. One shoe maker, Jean Baptiste Gregoire, has to create new shoes for his struggling dissertation help online family.
Post a Comment